Explore Your Application
I. Introduction
Congratulations! Your application is now ready to be explored.
Remember, once you get used to the whole process, developing such an applications becomes next to nothing.
Now, let’s look at what you have created in details!
Since your application supports two context modes, namely public mode and private mode we will organize this trip according to these two context modes.
Let’s start examining the public mode.
🙋♂️Since i prefer dark mode, all my print screens will be in that mode, but you are free to carry on with the light mode if you wish to.
II. Public Context
As we mentioned in this tutorial, public context is the application context where anonymous unauthenticated users could use the application features.
lets see what is already available in this mode.
1. Default Sign In and Sign Up Pages
These default pages are availables publicly.
here is what they look like:
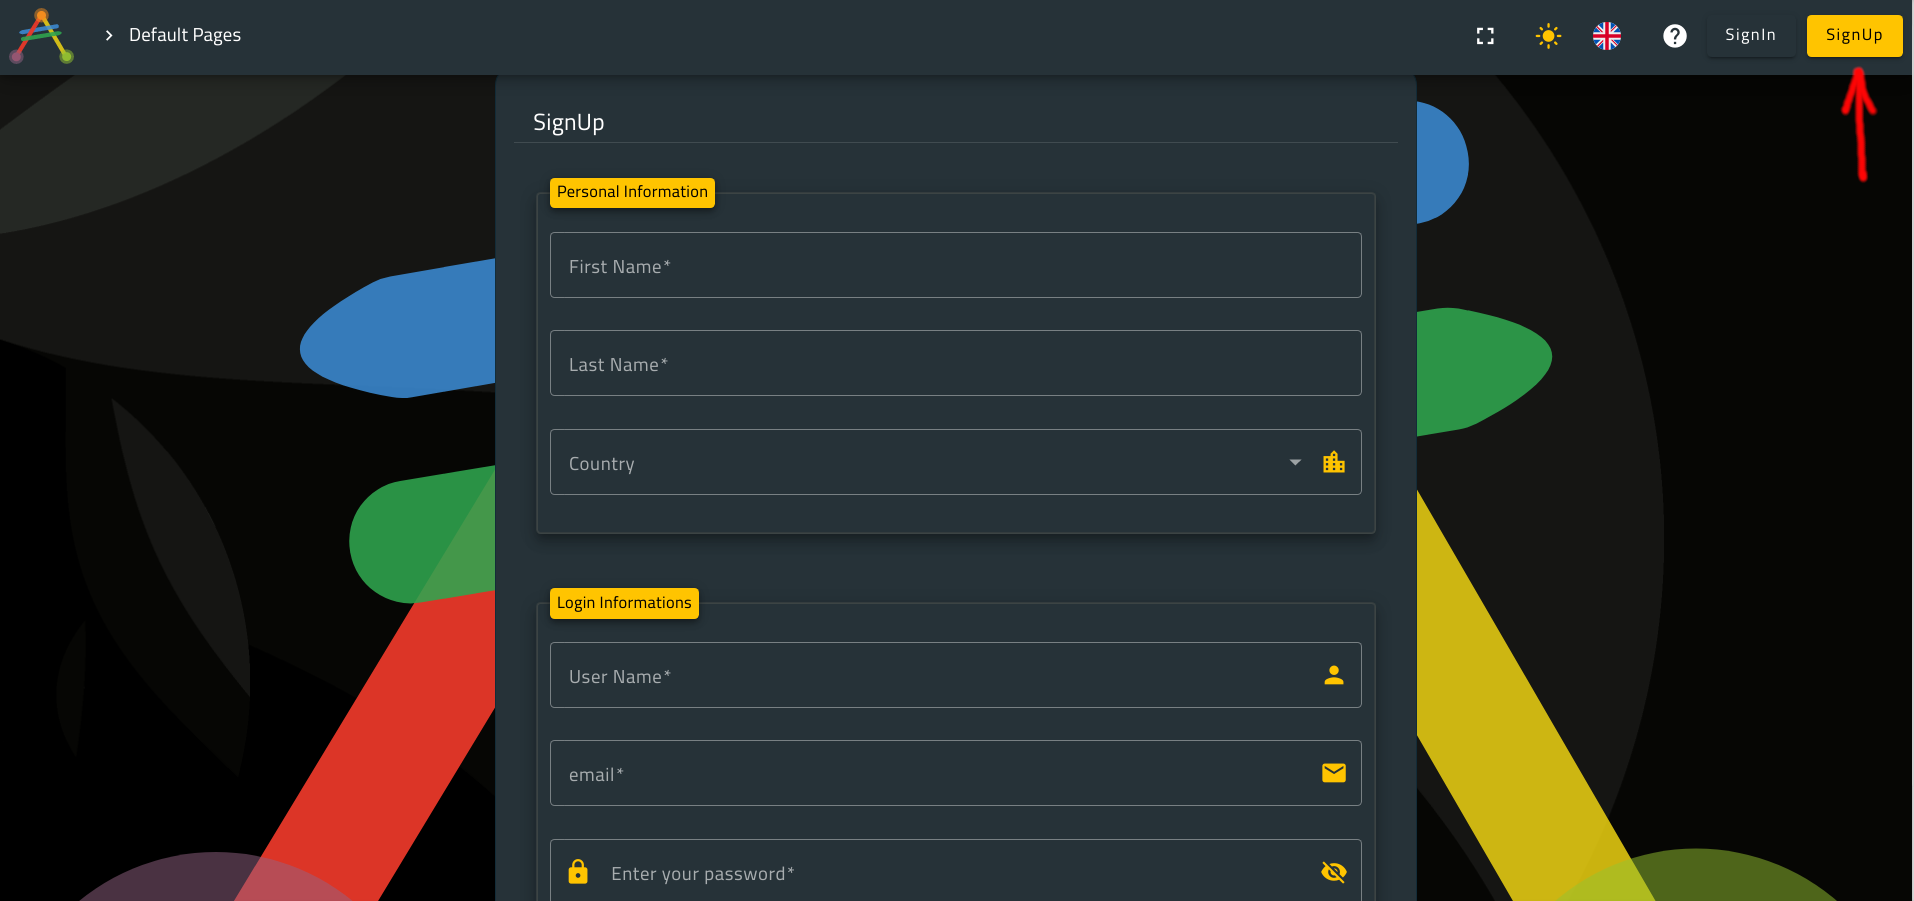
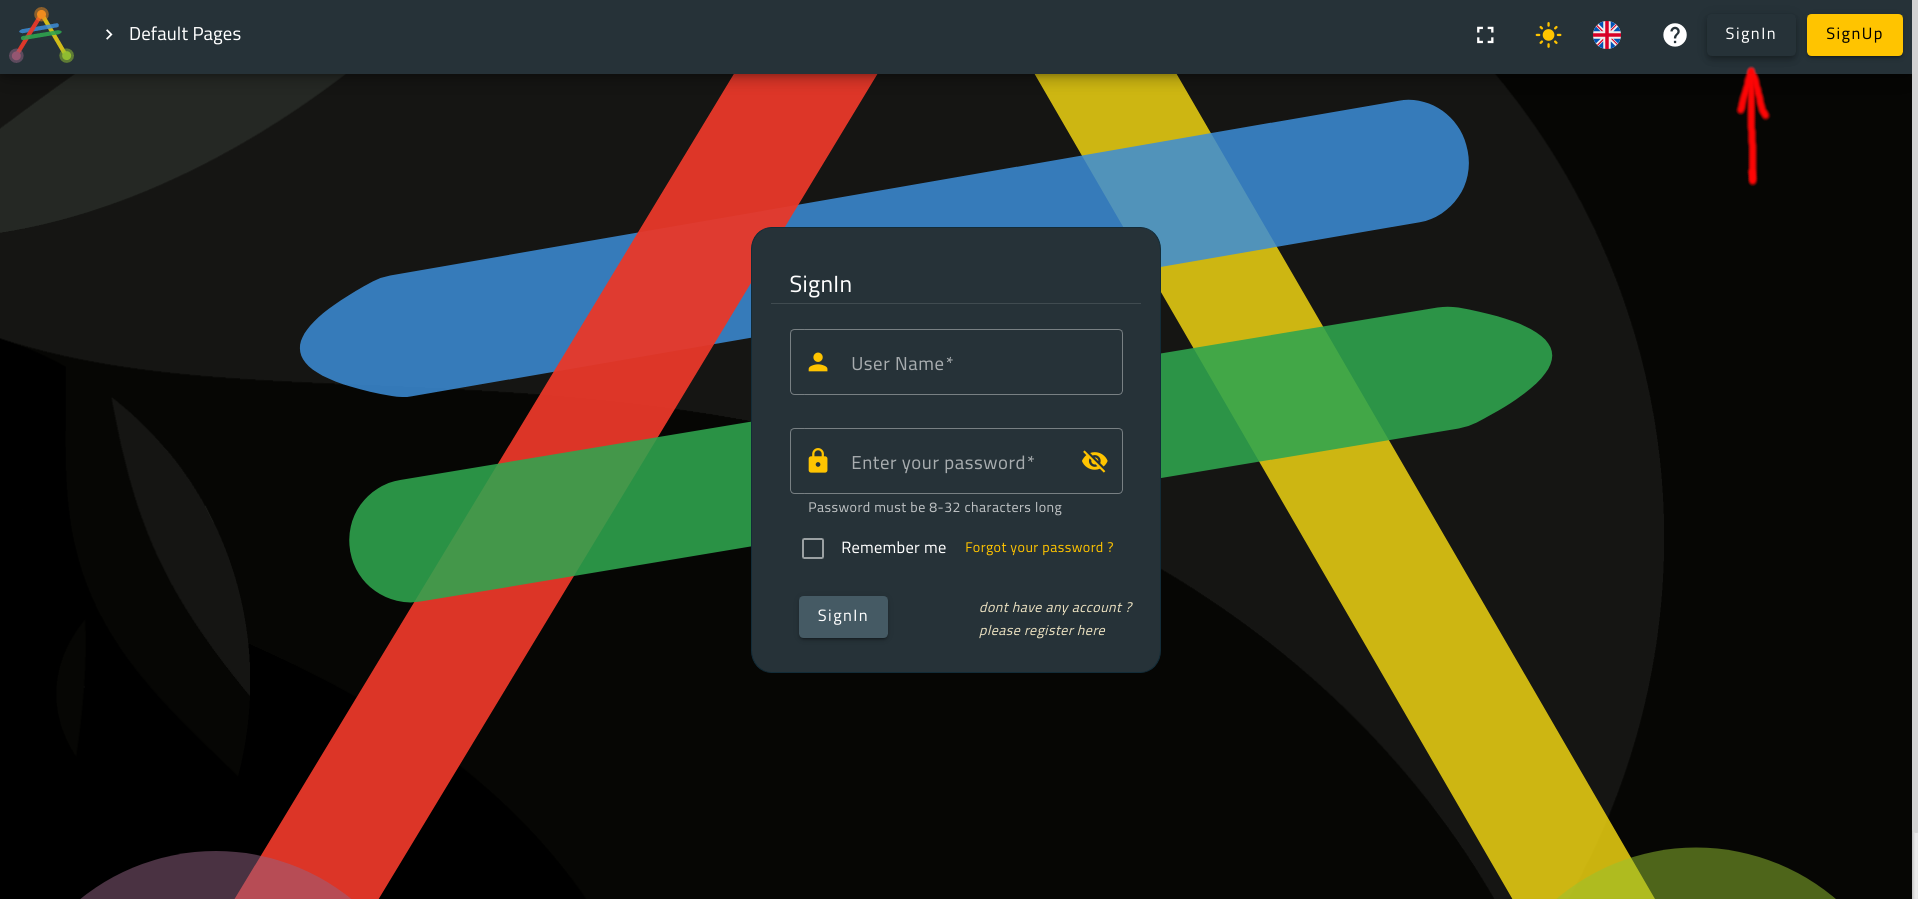
Later in this section, we are going to use these both pages to register a new user and to sign into his account in the private context.
2. My Public Page
Remember, in the requirement phase, one of our requirements was to create a public blank page.
This page should be accessible publicly via a link to the default application top menu.
Here is what our public page along with its menu entry look like:

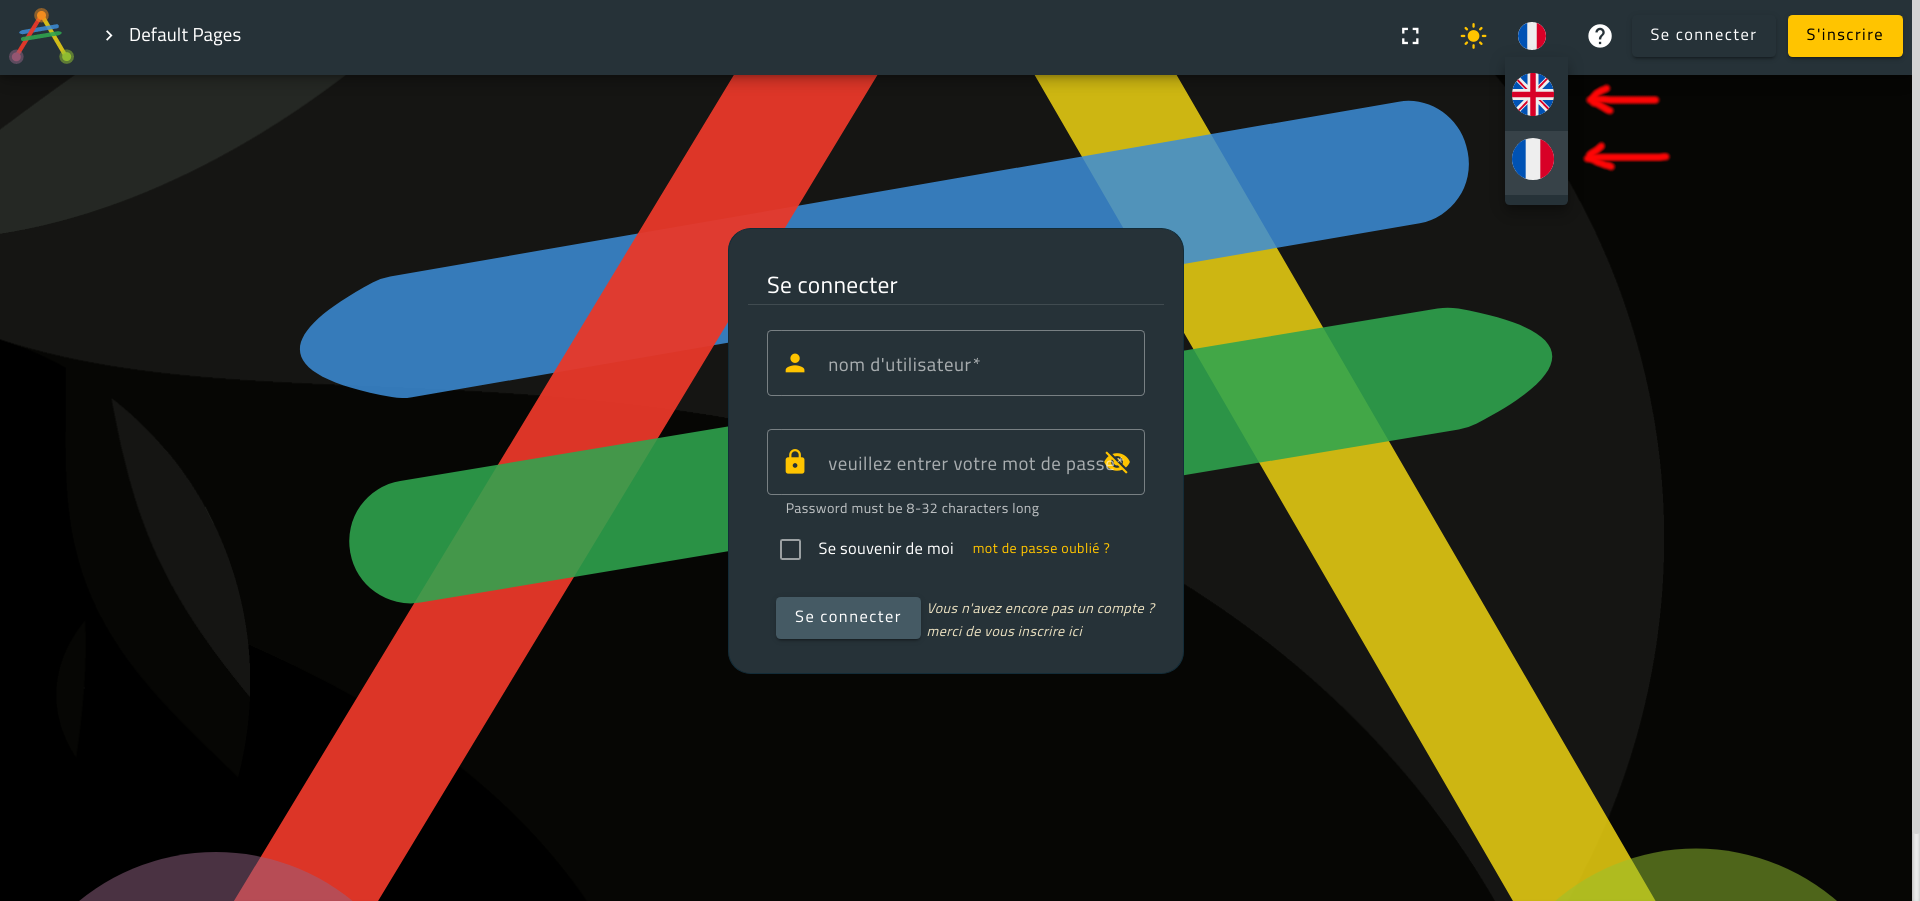
Note that your application support English and a second language as well (French in my case).
II. Private Context
1. Authentication Feature
Let’s verify that our application supports authentication.
Go ahead and sign in with whatever user comes to your mind.
try this one for example:
- username =
testUser- password =
testUser00

Notice that we are unable to sign into our application using unknown users.
One more thing you should notice here; it’s the fact that default messages already comes in the current application language.
Let’s switch the language to Eglish and see whether the error message changes when we attempt to sign in with an unknown user or not.
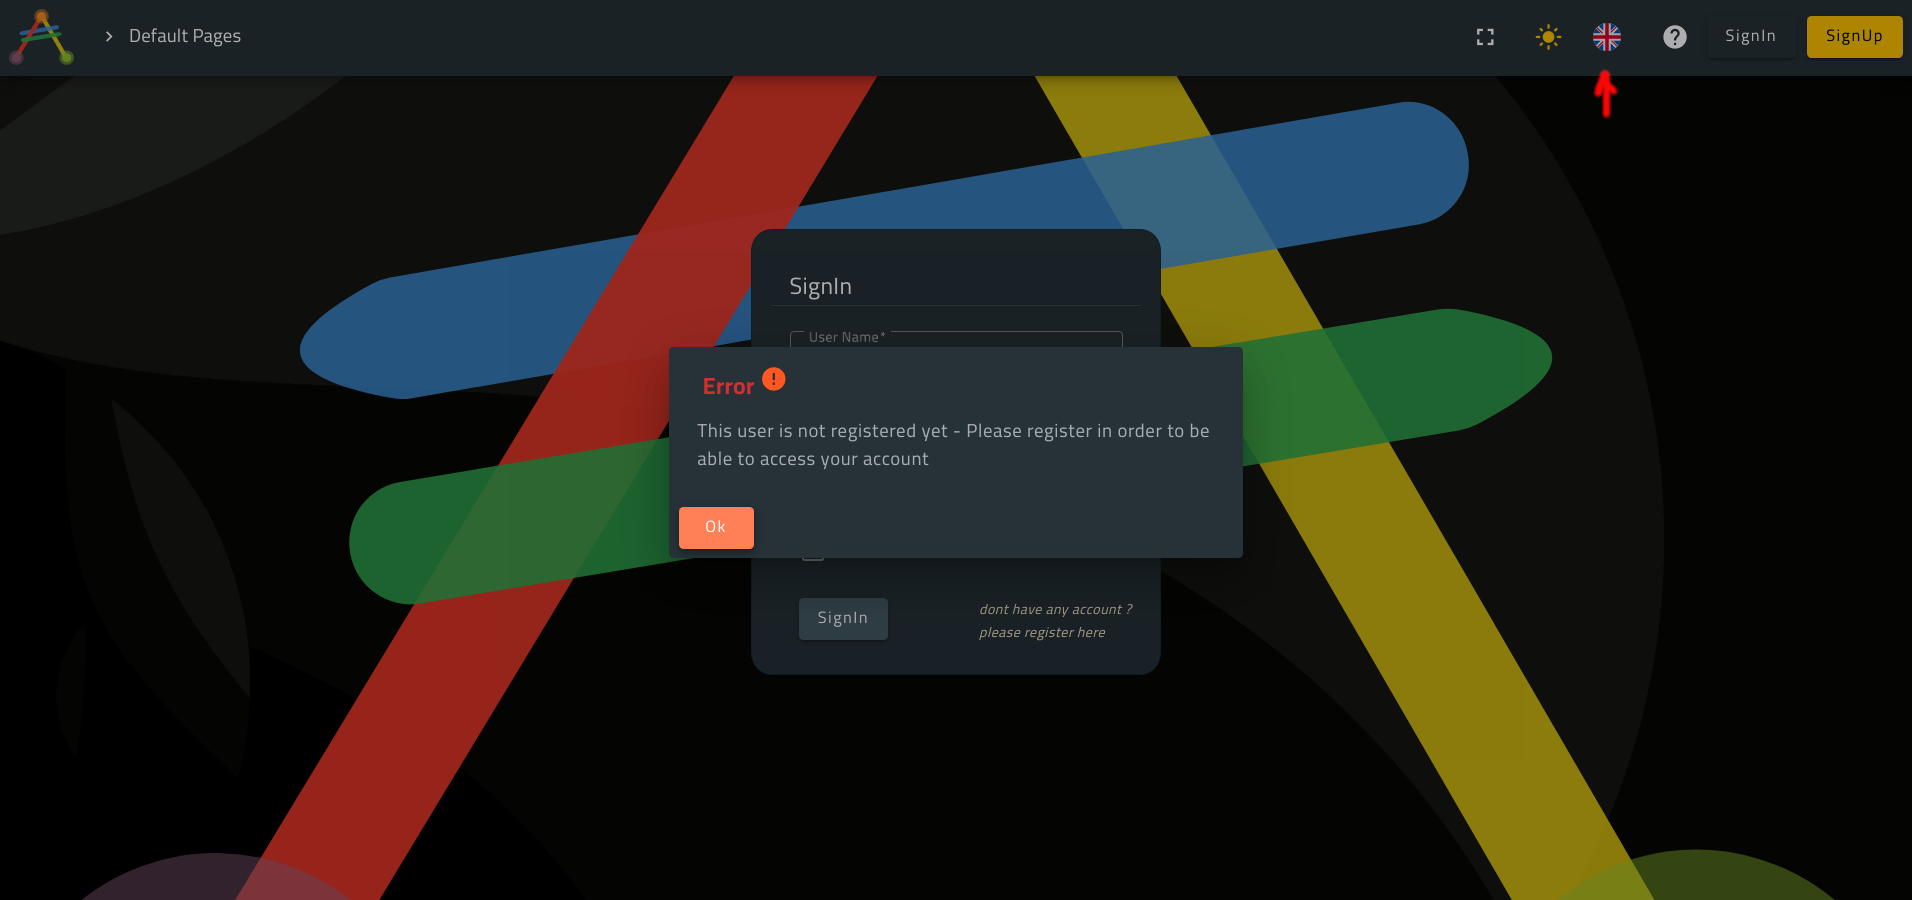
Notice that the error message now comes in English.
All the framework component are already translated for you by default, not only messages.
However, you might override these translation if you wish using Translation Entries.
💡 Please note that
averos frameworksupports up to 11 languages out of the box.
Well, it seems that our application does not authorize anonymous user to access private spaces.
So, let’s register a new user and sign into the private context once again.
And for the fun, let’s register the unknown user which we used earlier.
Go ahead and click on Sign Up then create a new user with the following credentials:
- username =
testUser- email =
testuser@test.com- password =
testUser00
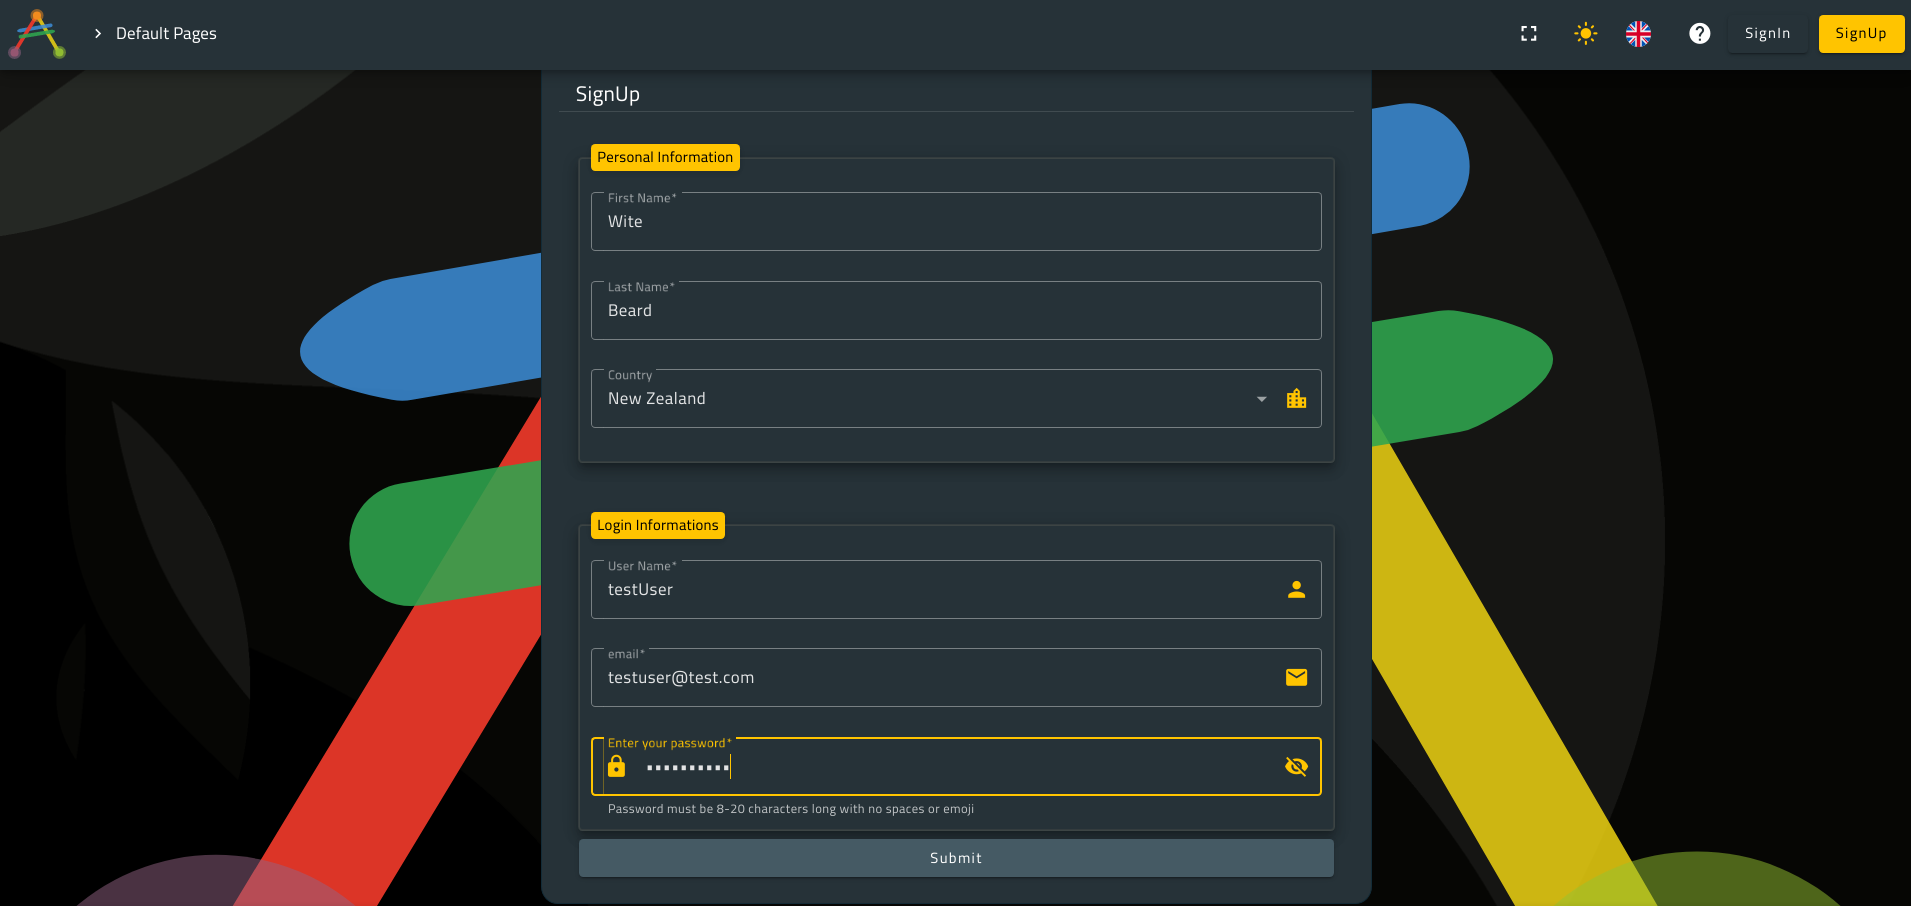
Click on submit.
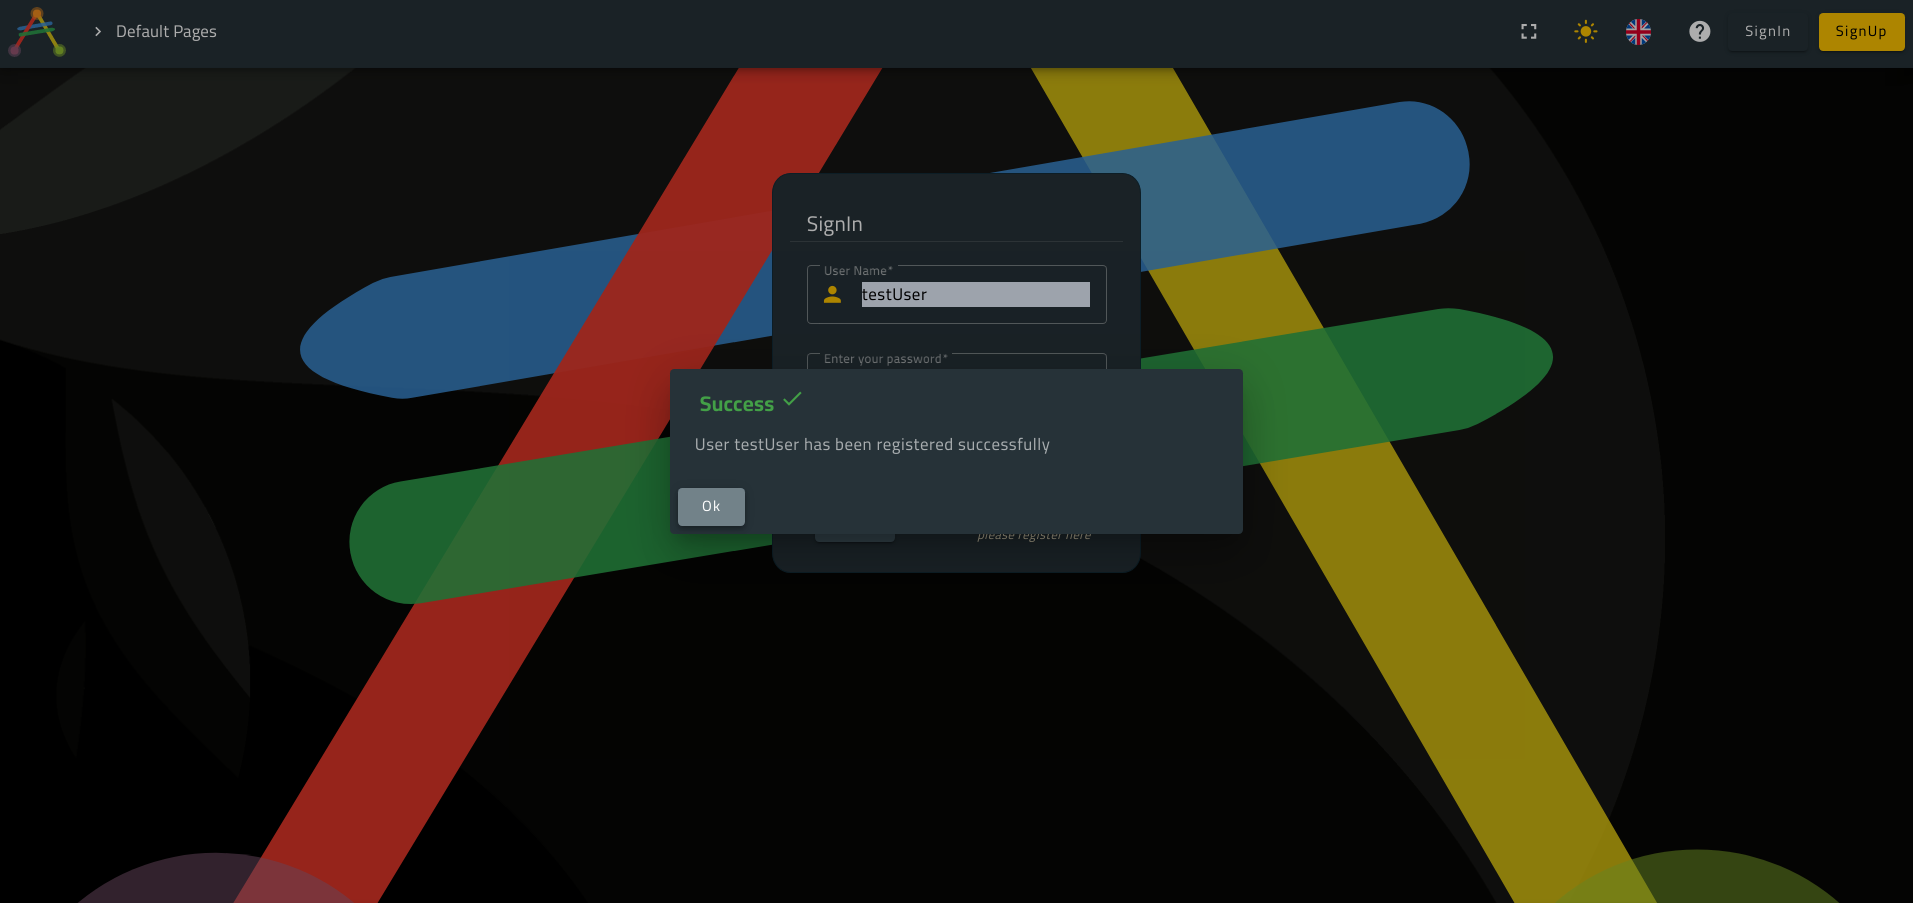
Our new user is now registered successfully.
Let’s go ahead and sign into our private space.
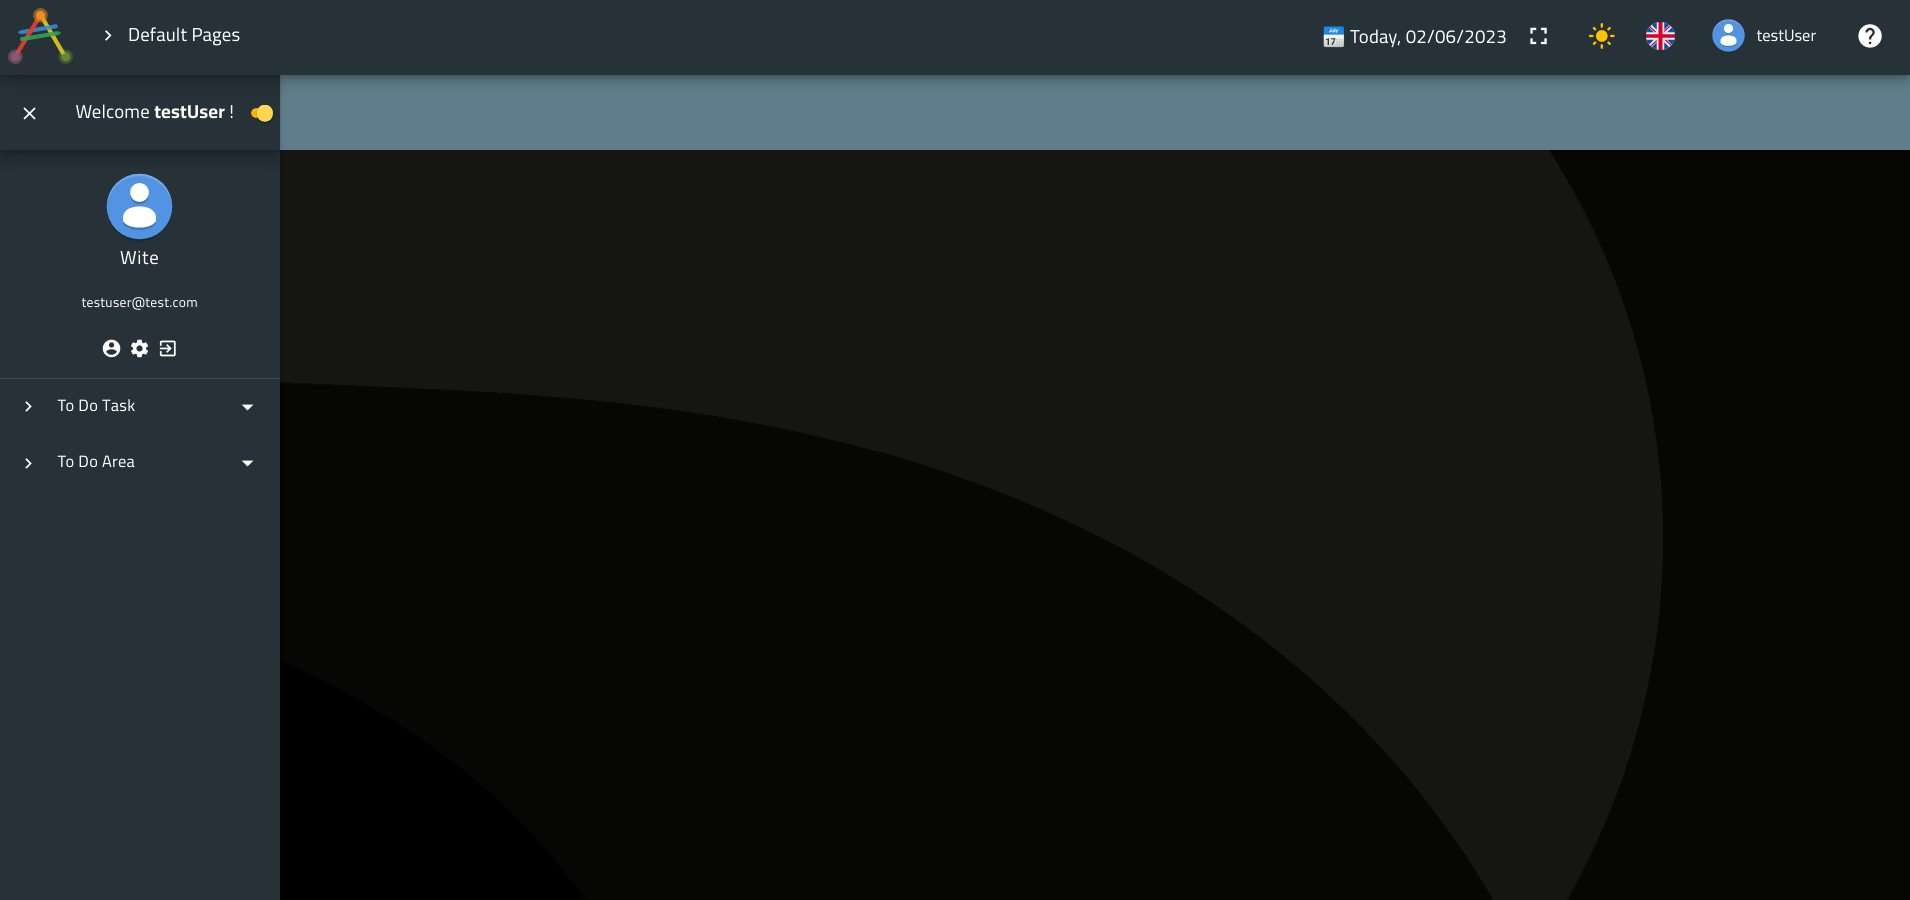
Welcome to your private space !
lets switch to French and see what happens.
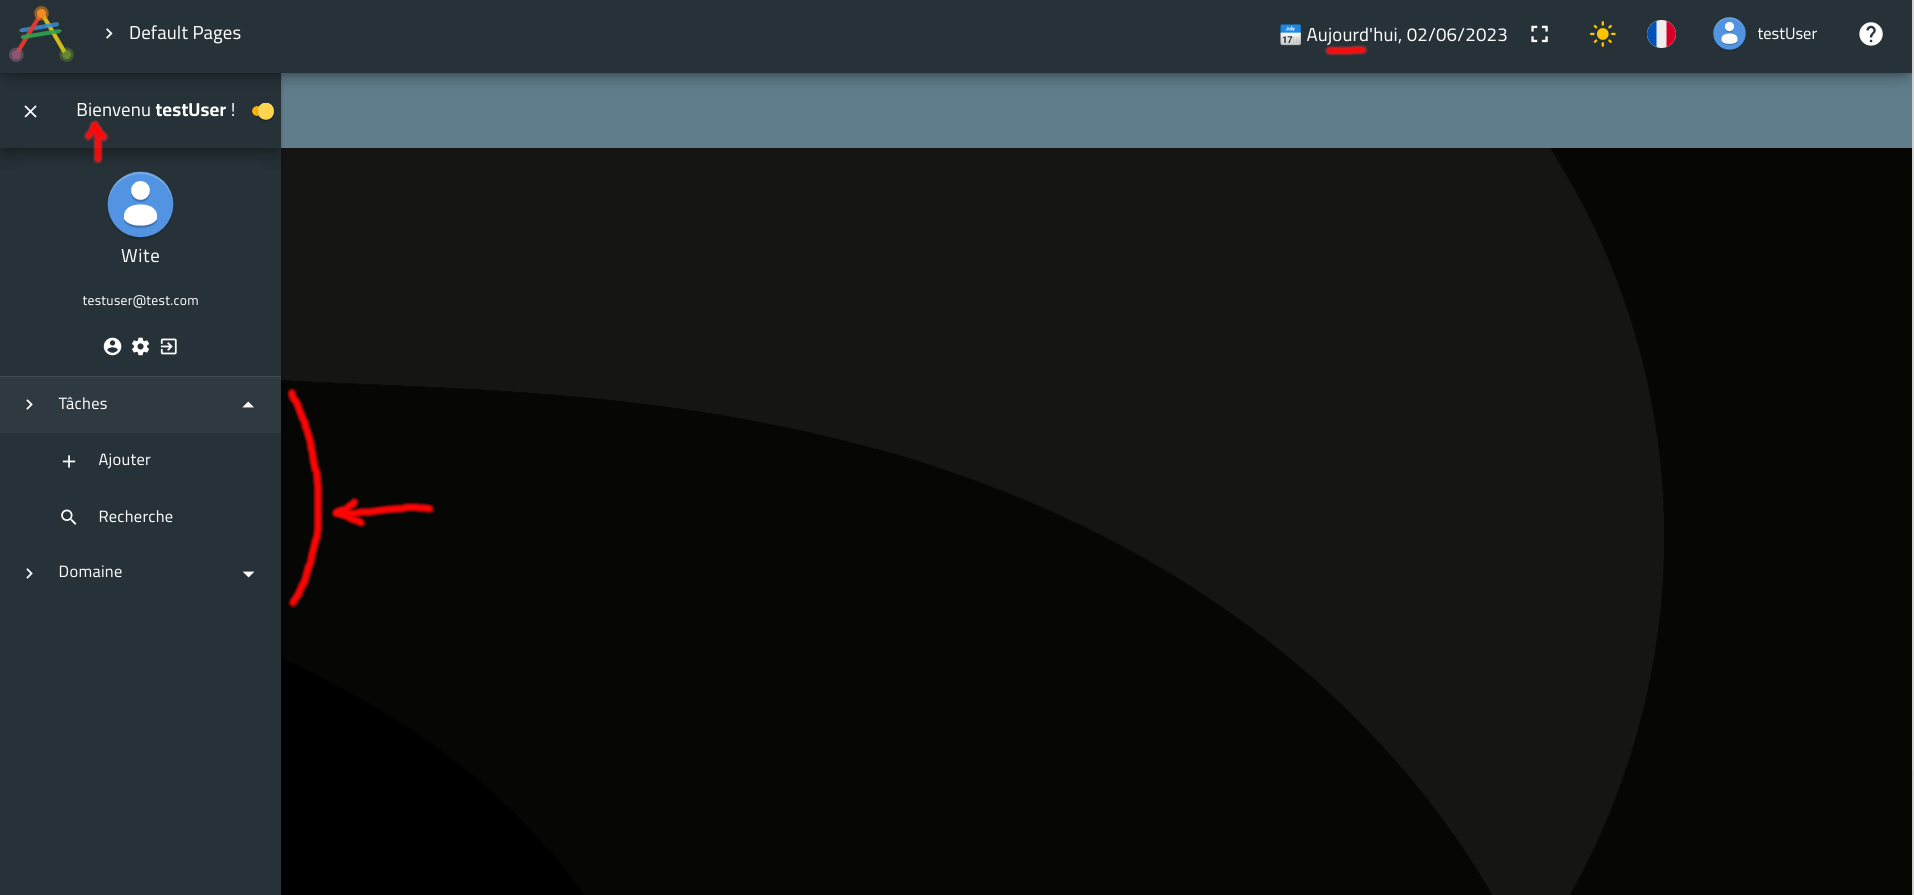
Great! This is what we have already expected!
Our menu comes in French along with default layout labels.
Let’s change our avatar, shall we ?
Edit your profile using the button number 1 then click on the button number 2 as pointed out in the picture below:
The avatar selection panel will pop up as described below:
Go ahead and select your favorite avatar then click on save.
2. ToDoTask Use Cases
Now, let’s explore ToDoTask use cases.
Open the page identified by the menu link item To Do Task > Search To Do Task.
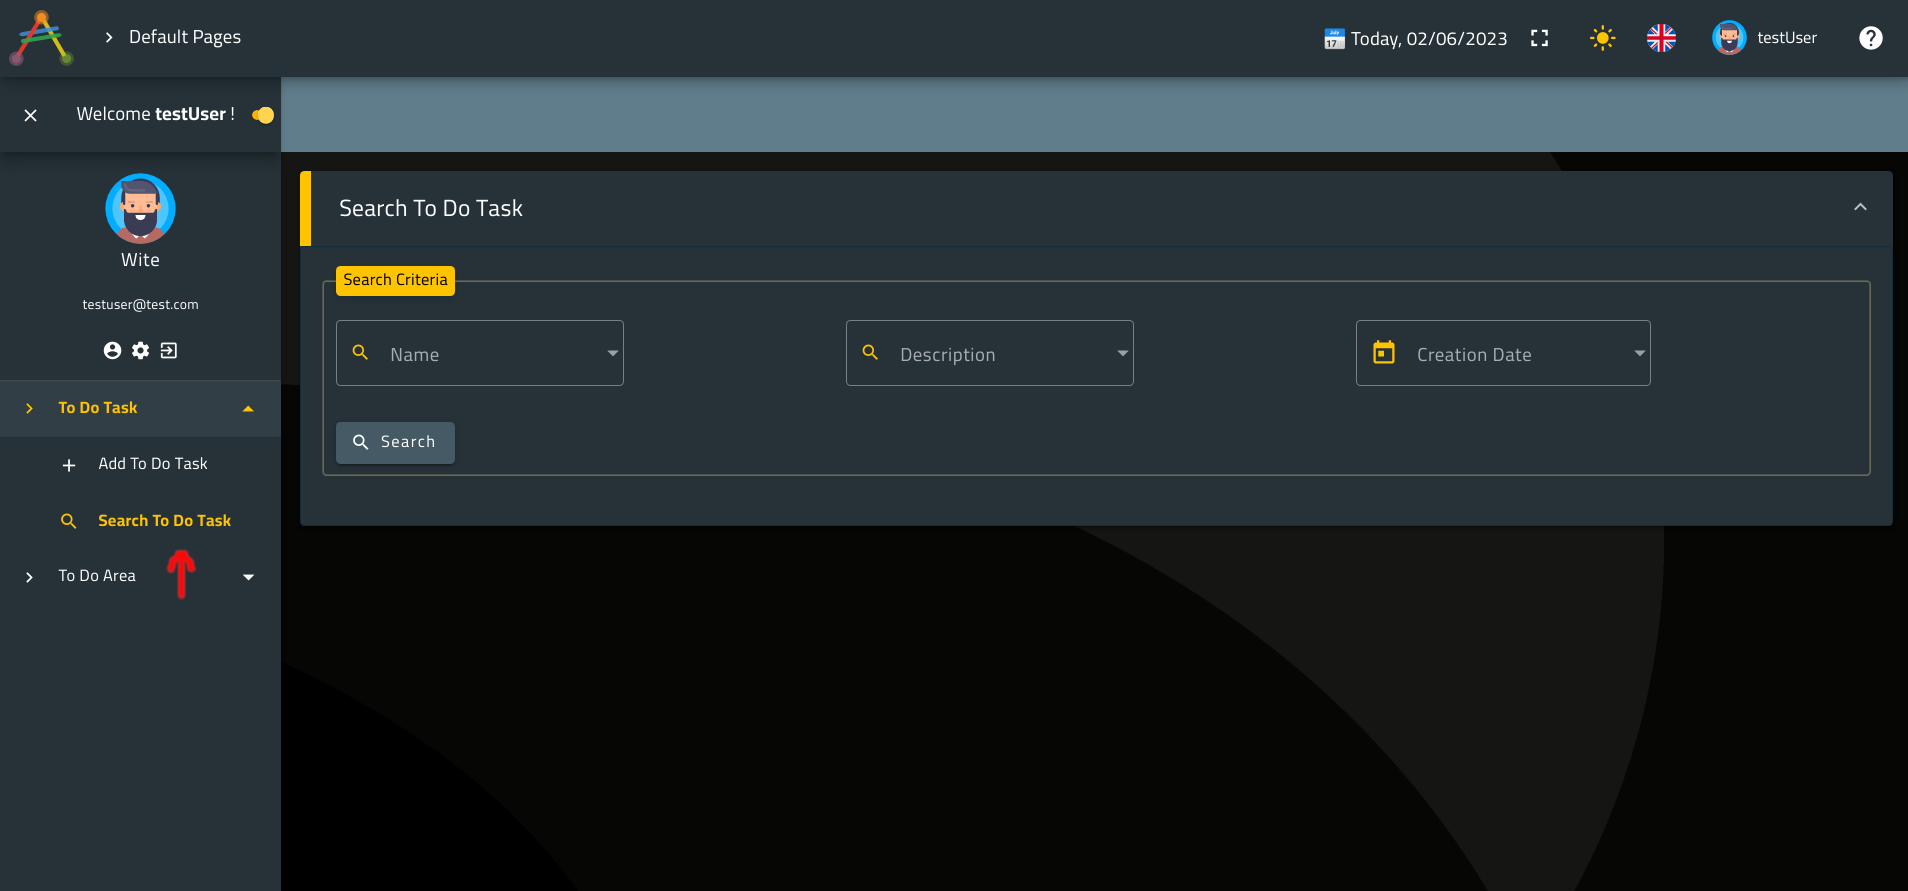
let’s switch to French.
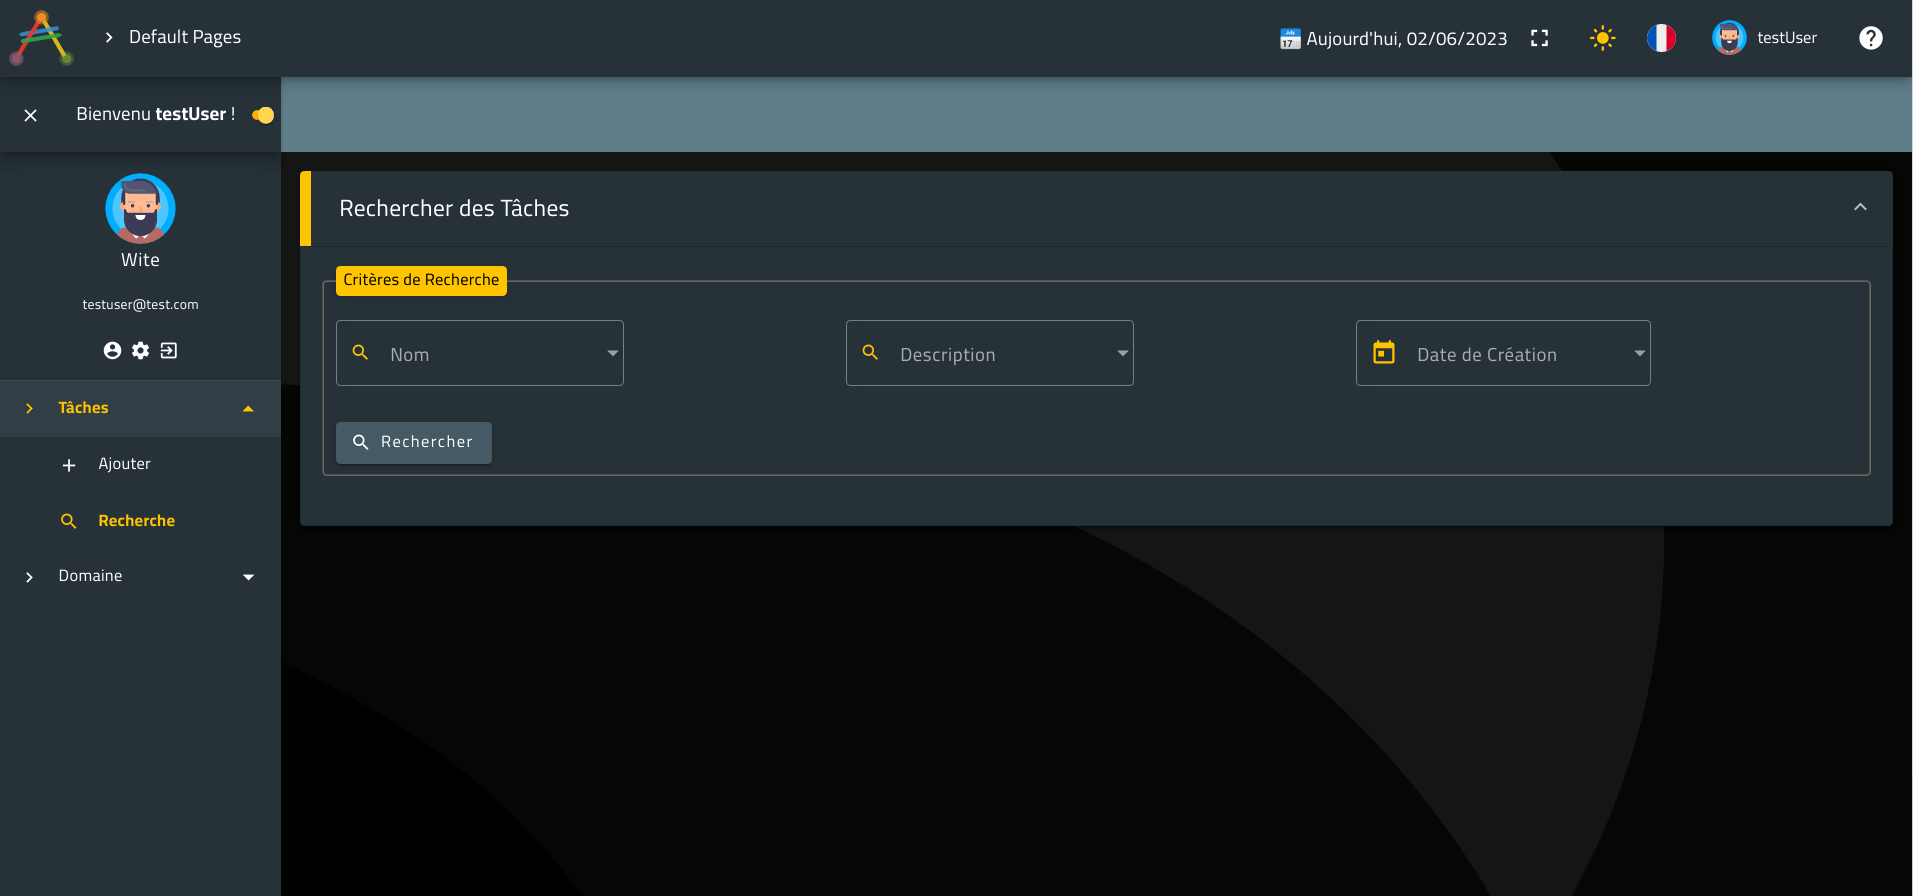
Notice how the entity members along with the use case actions has been translated to French as configured with Averos Designer using Translation Entries.
Now go ahead and fetch all ToDoTask object by clicking the search button.
wow such empty!
Ok, let’s create some Tasks then!
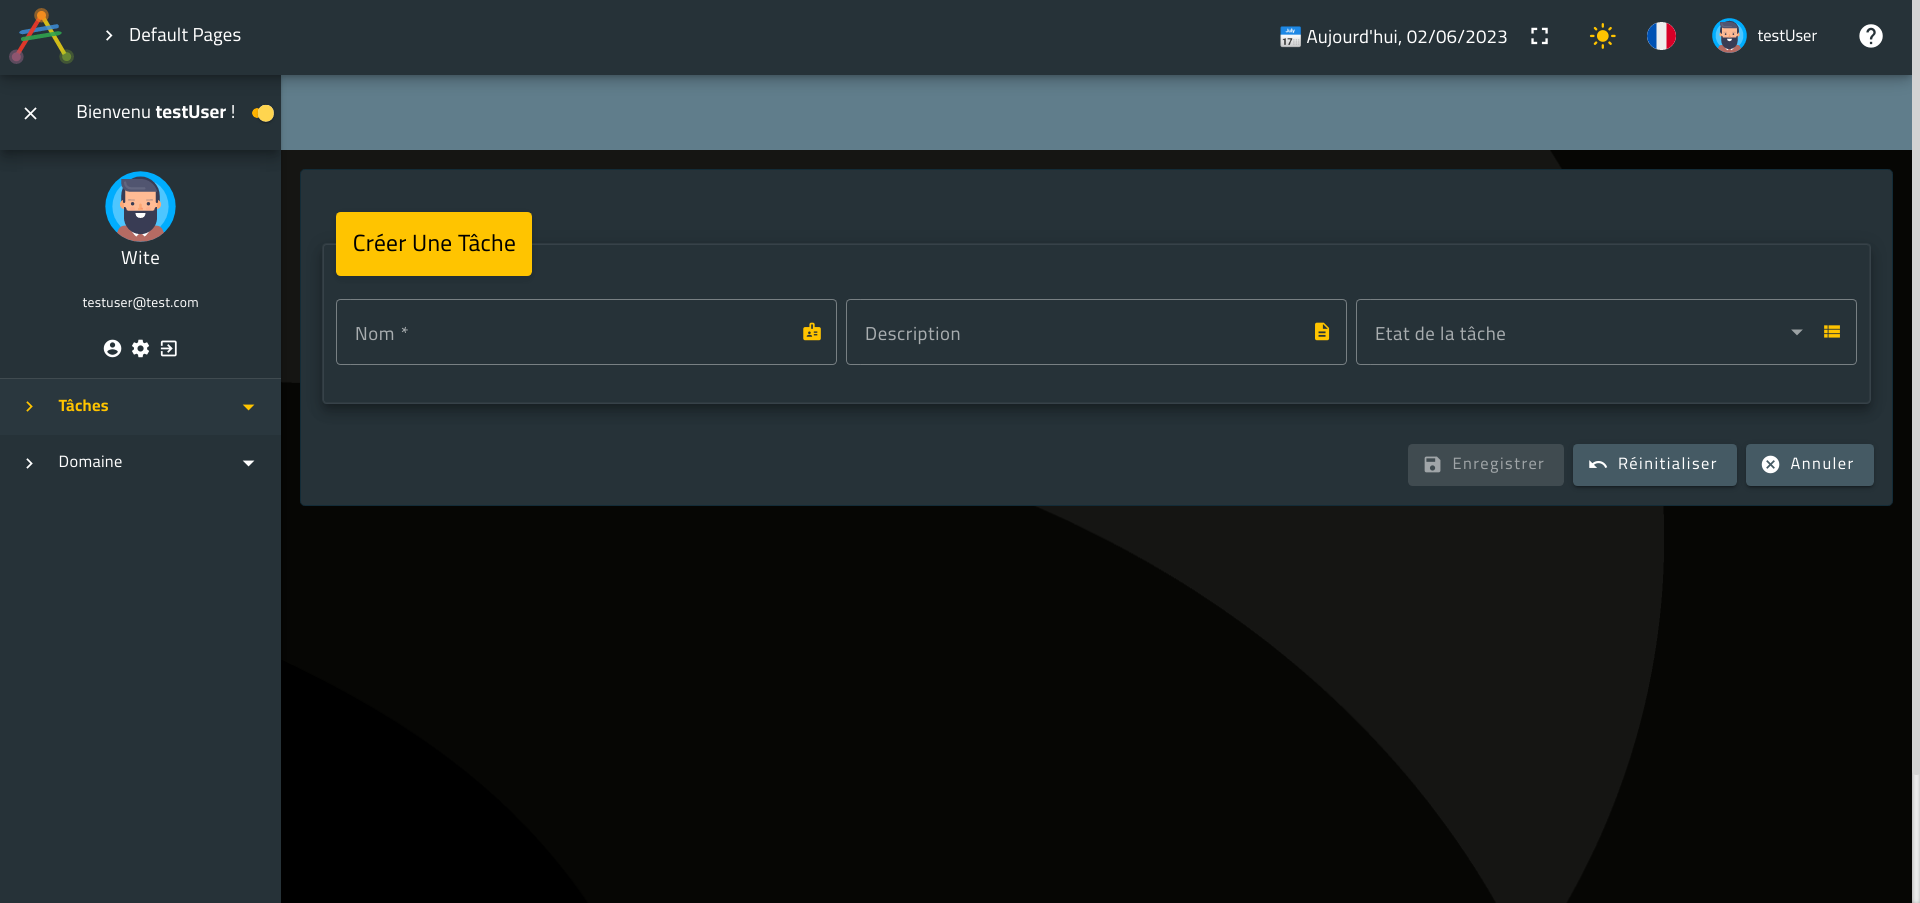
Go to To Do Task and click on the menu item link Add To Do Task.
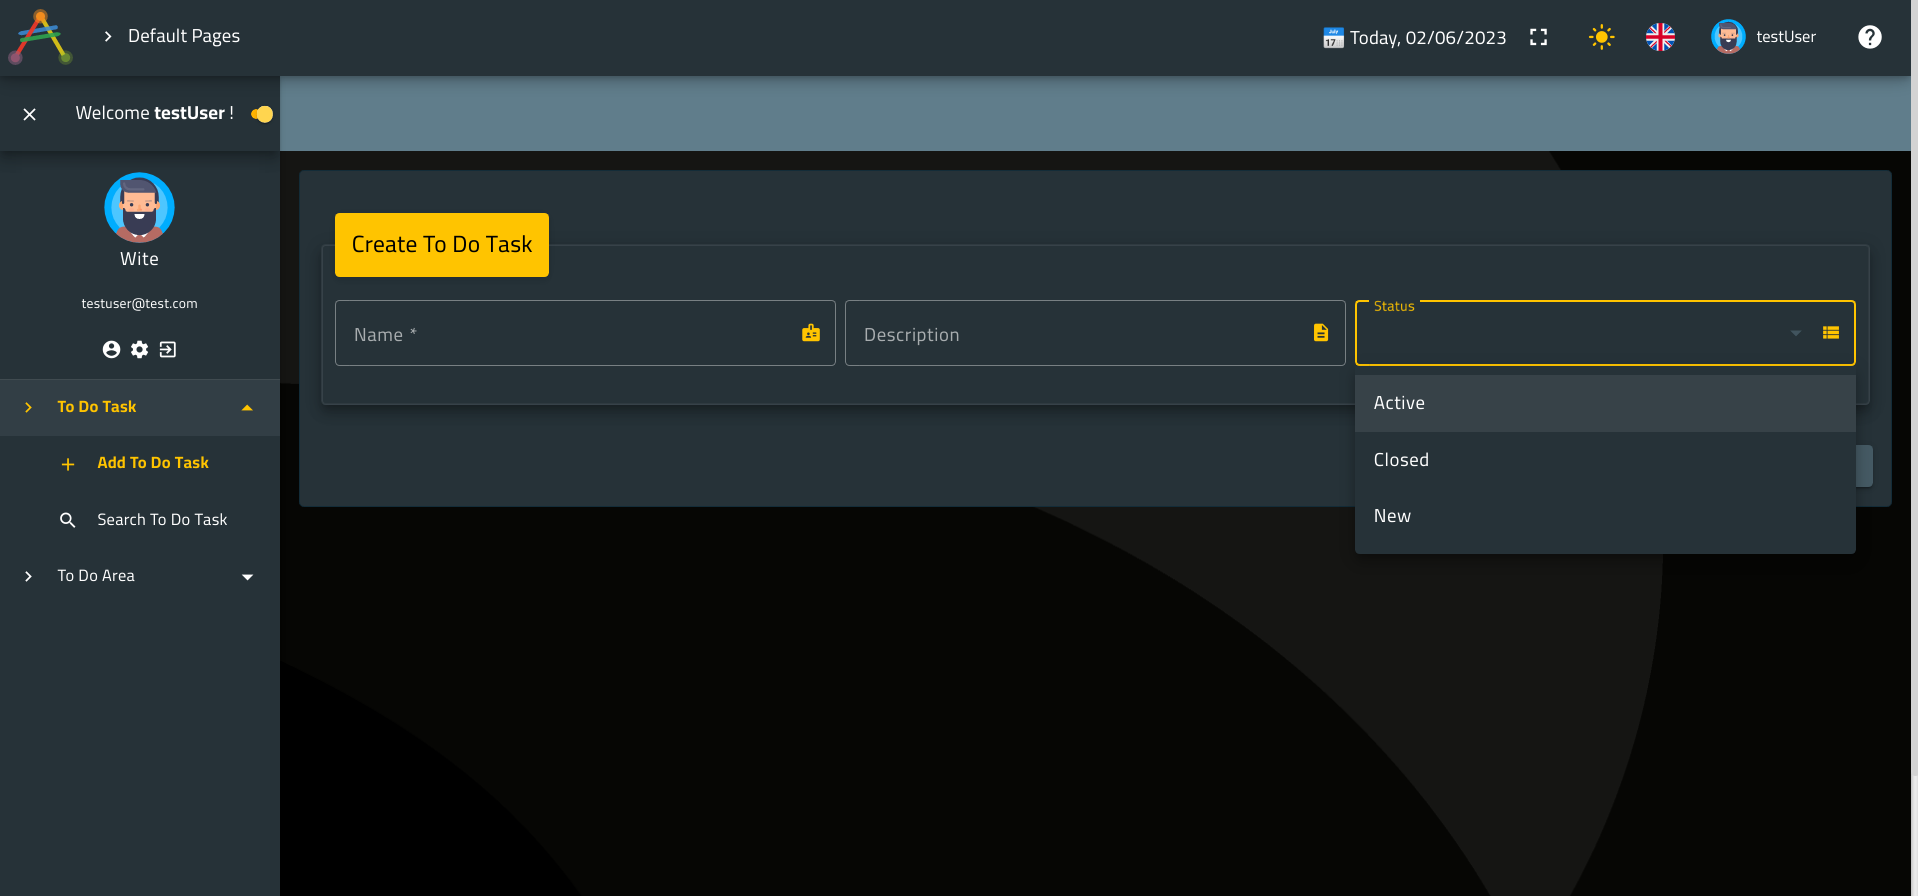
Do you remember the member status ?
We have seen that this member is of type enumeration and that it is described by the following fixed values: Active, Closed and New.
However, we did not configure a translation entries in English for these values.
That’s way the list is displayed as is.
Now let’s switch to French.
Notice how the use case title, the entity members and the use case action labels comes translated to French.
Also we are expecting the member status to have its values translated to French as well.
Let’s check it!
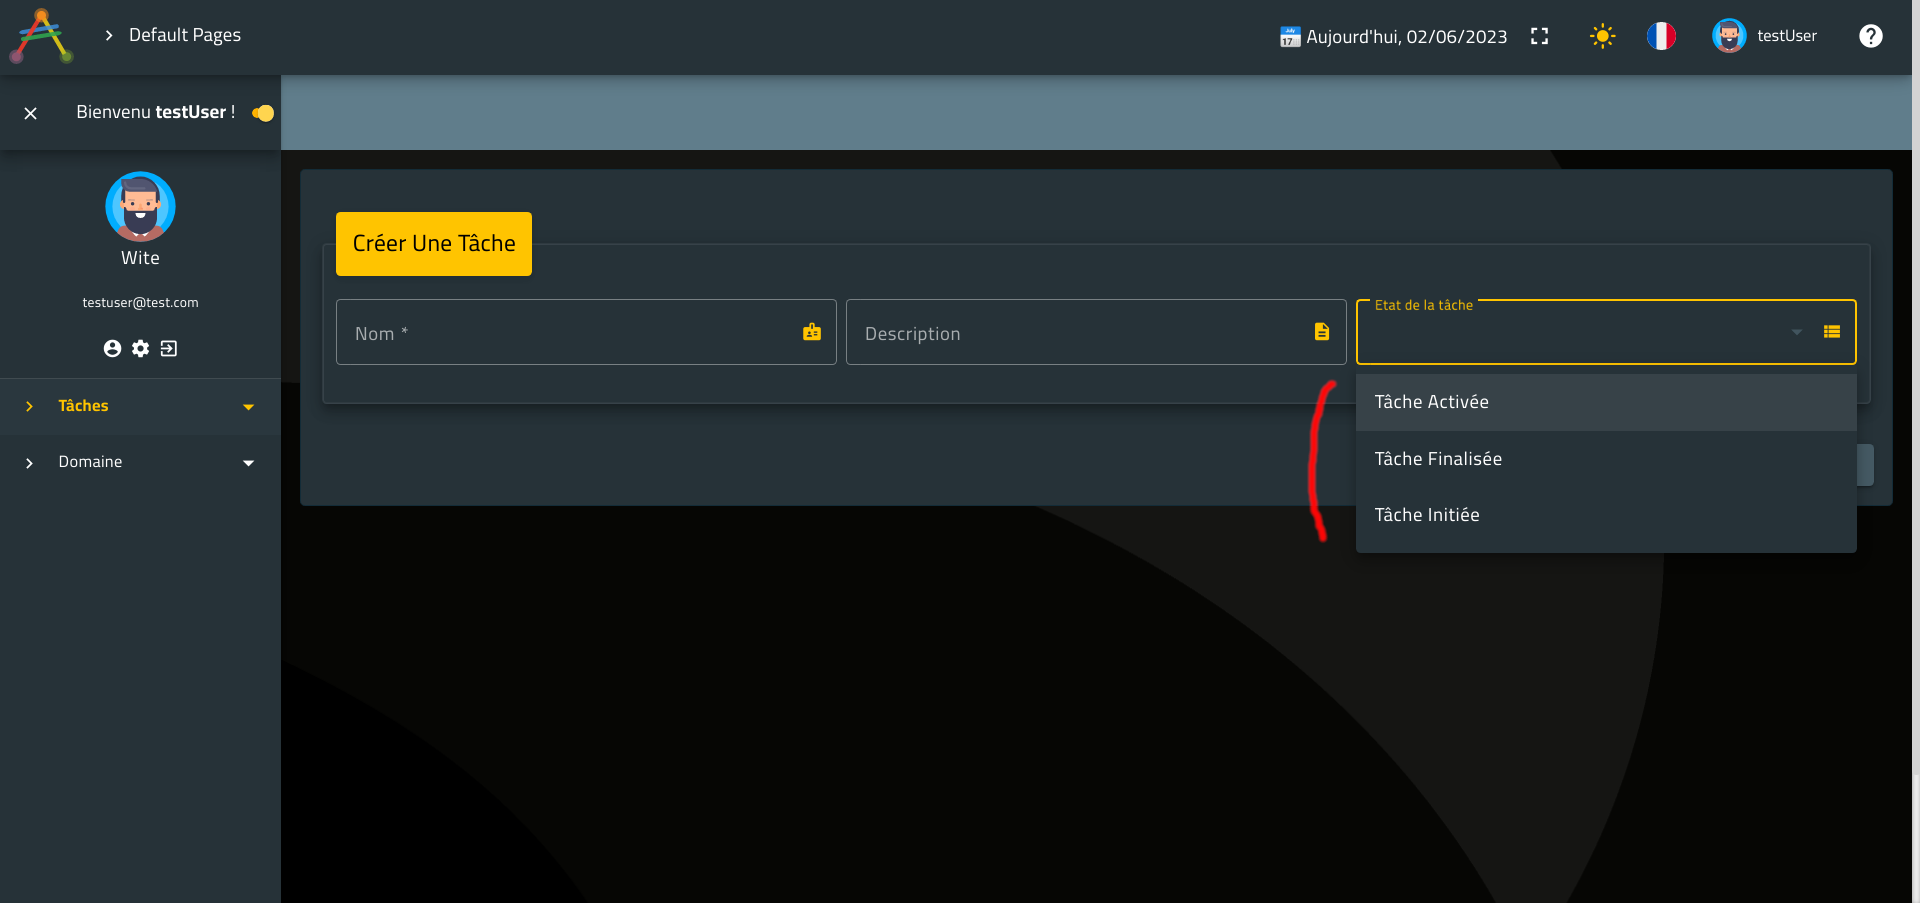
Great ! 🎉🎉
Everything was translated to French as configured and expected.
Now, let’s create the following three tasks:
Task1This is my first TaskNew
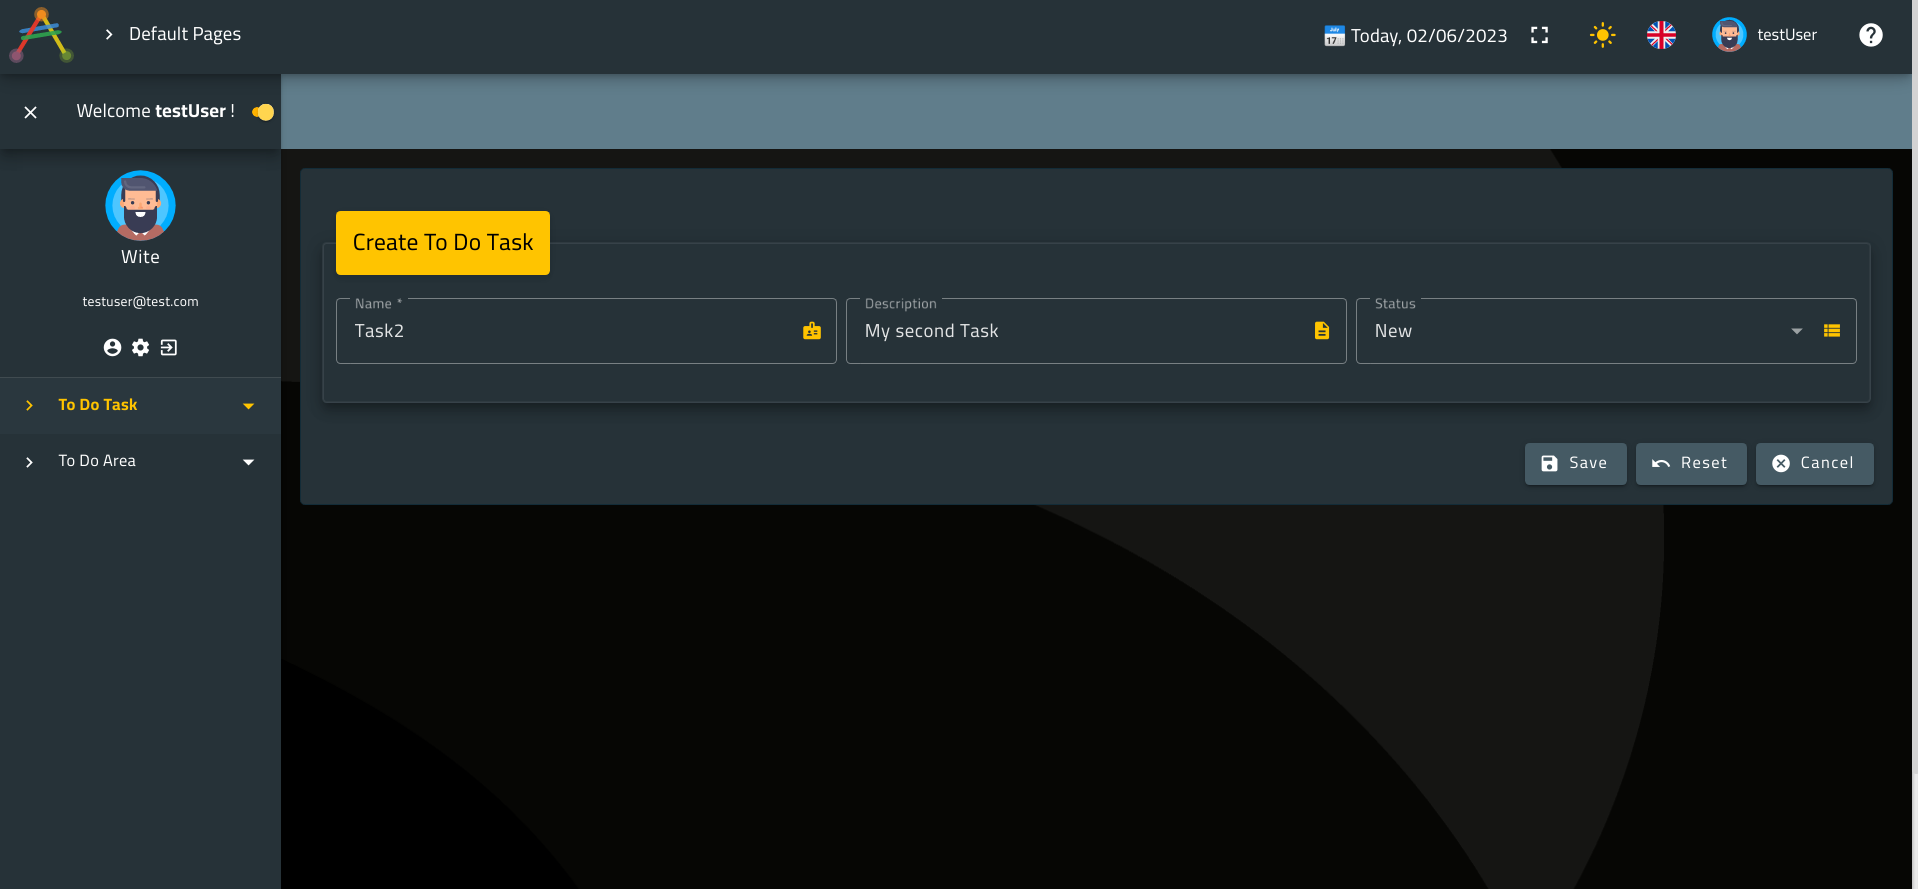
Task2This is my second TaskNew
Task3This is my third TaskNew
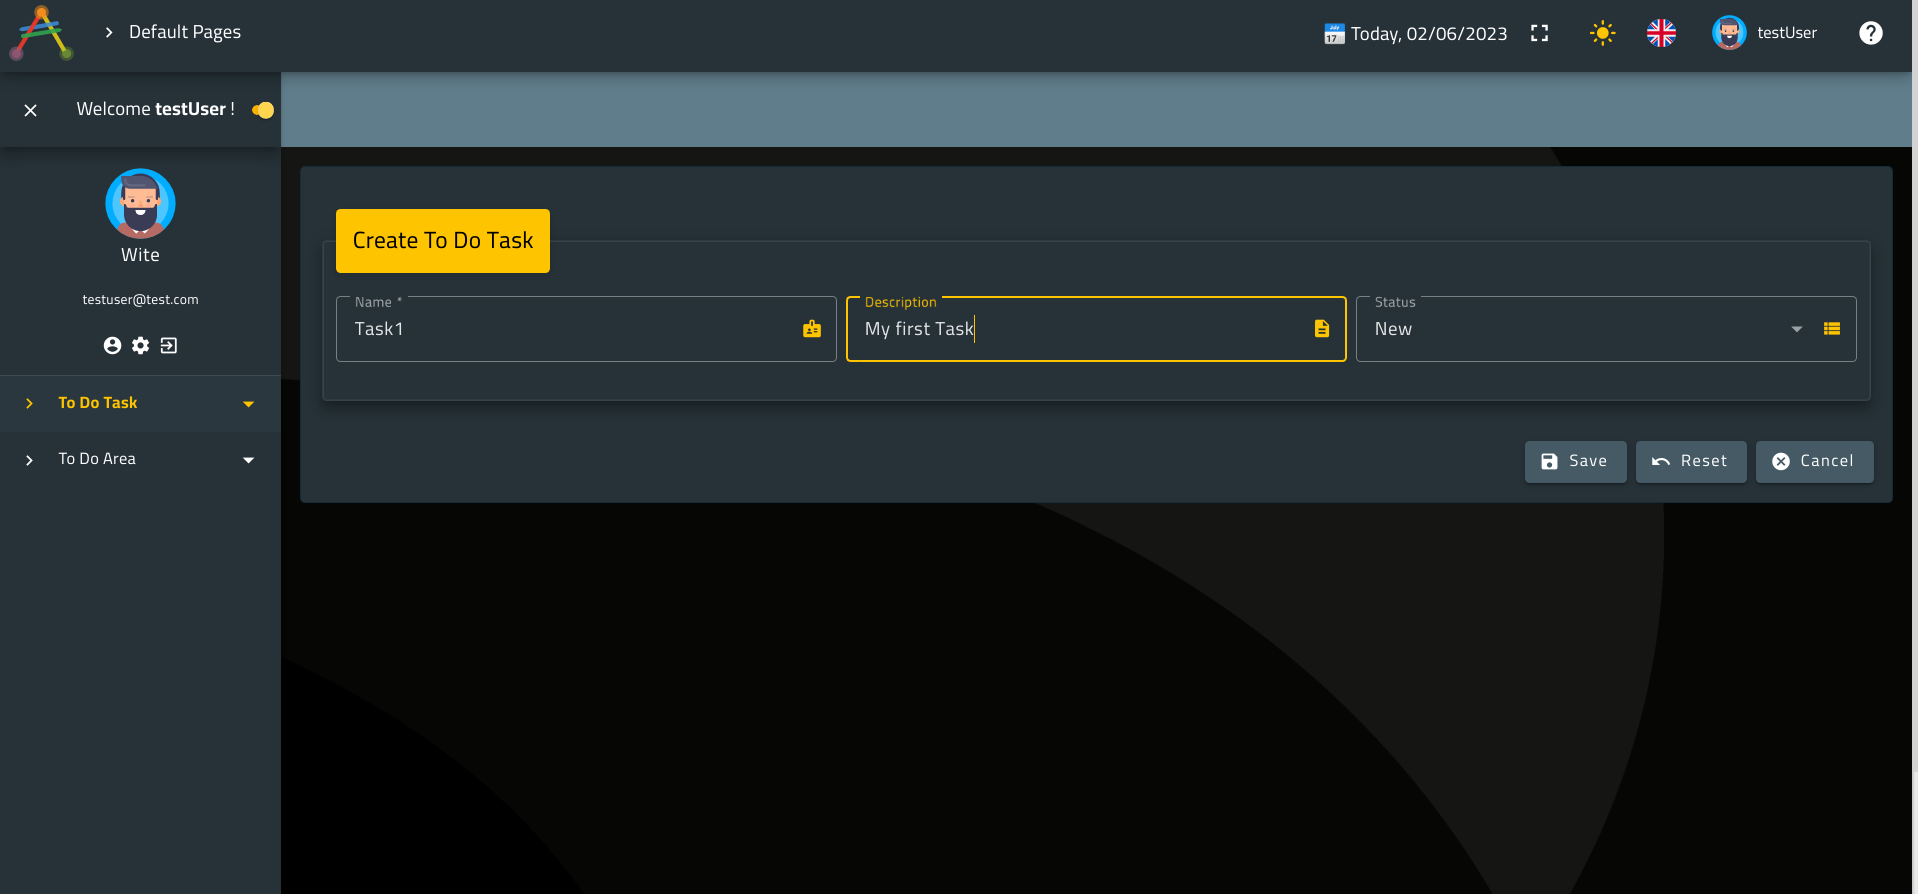
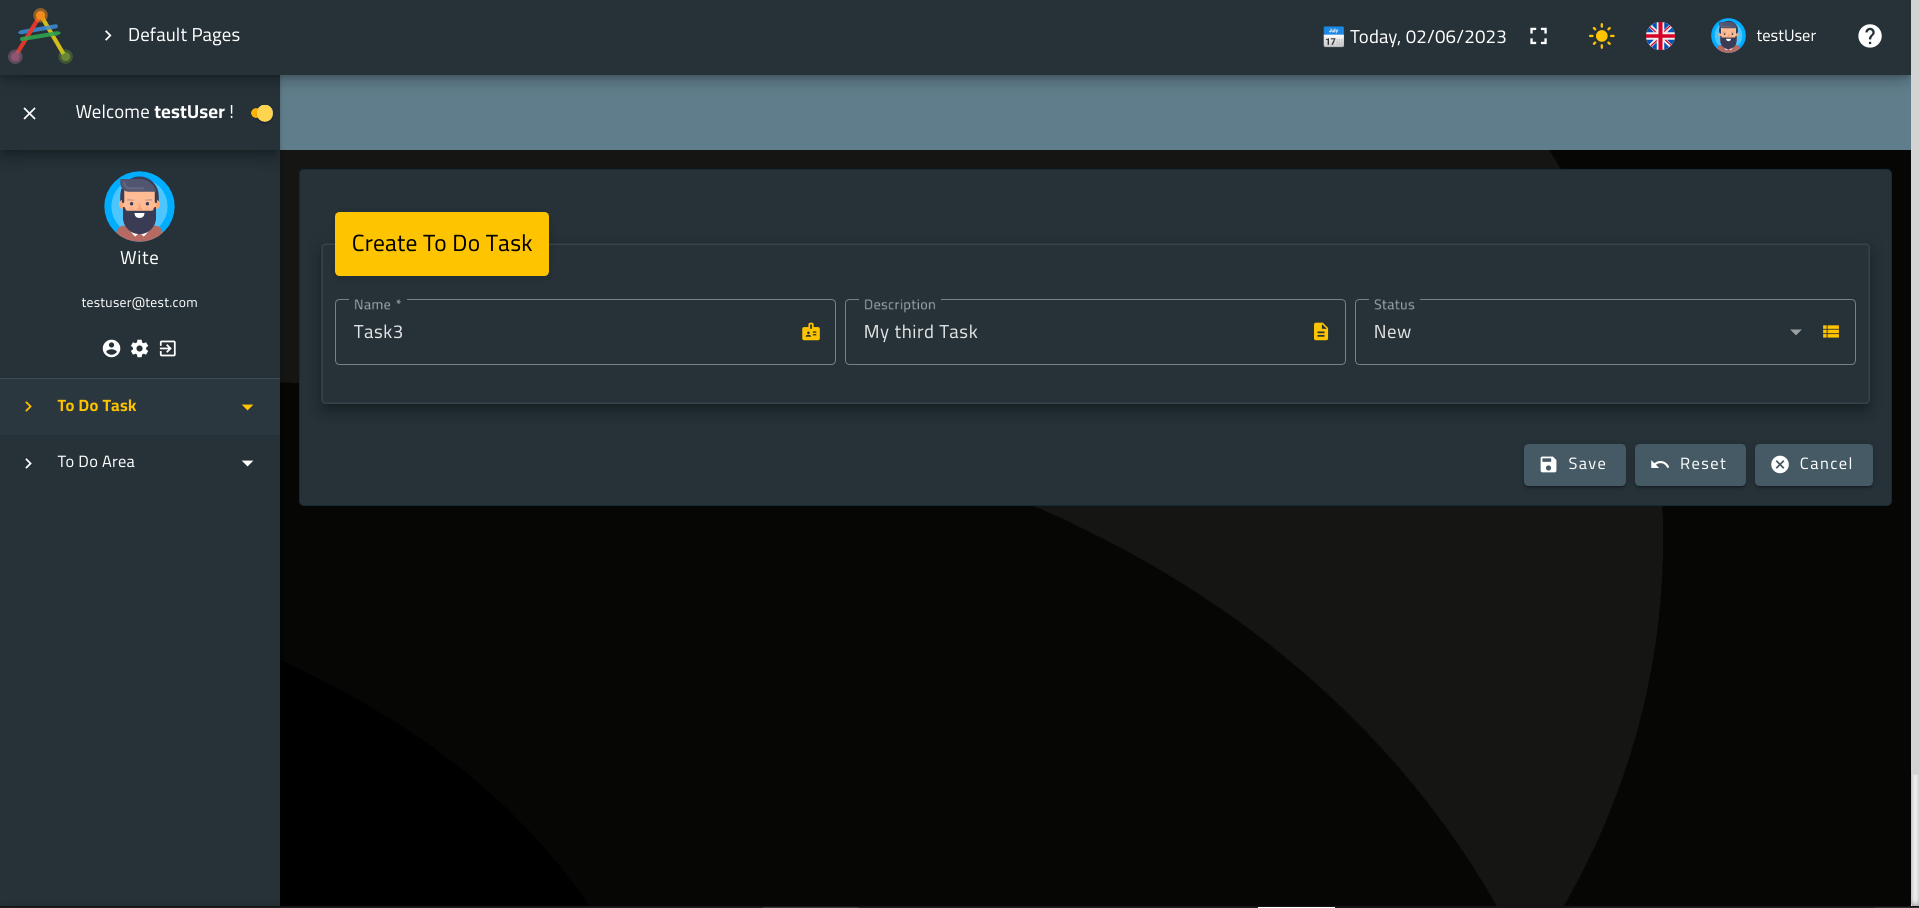
Click on save
Notice how after saving a task the page automatically switch to the view layout with the possibility to either edit your saved entity or to clone it in case you would like to create a new instance.
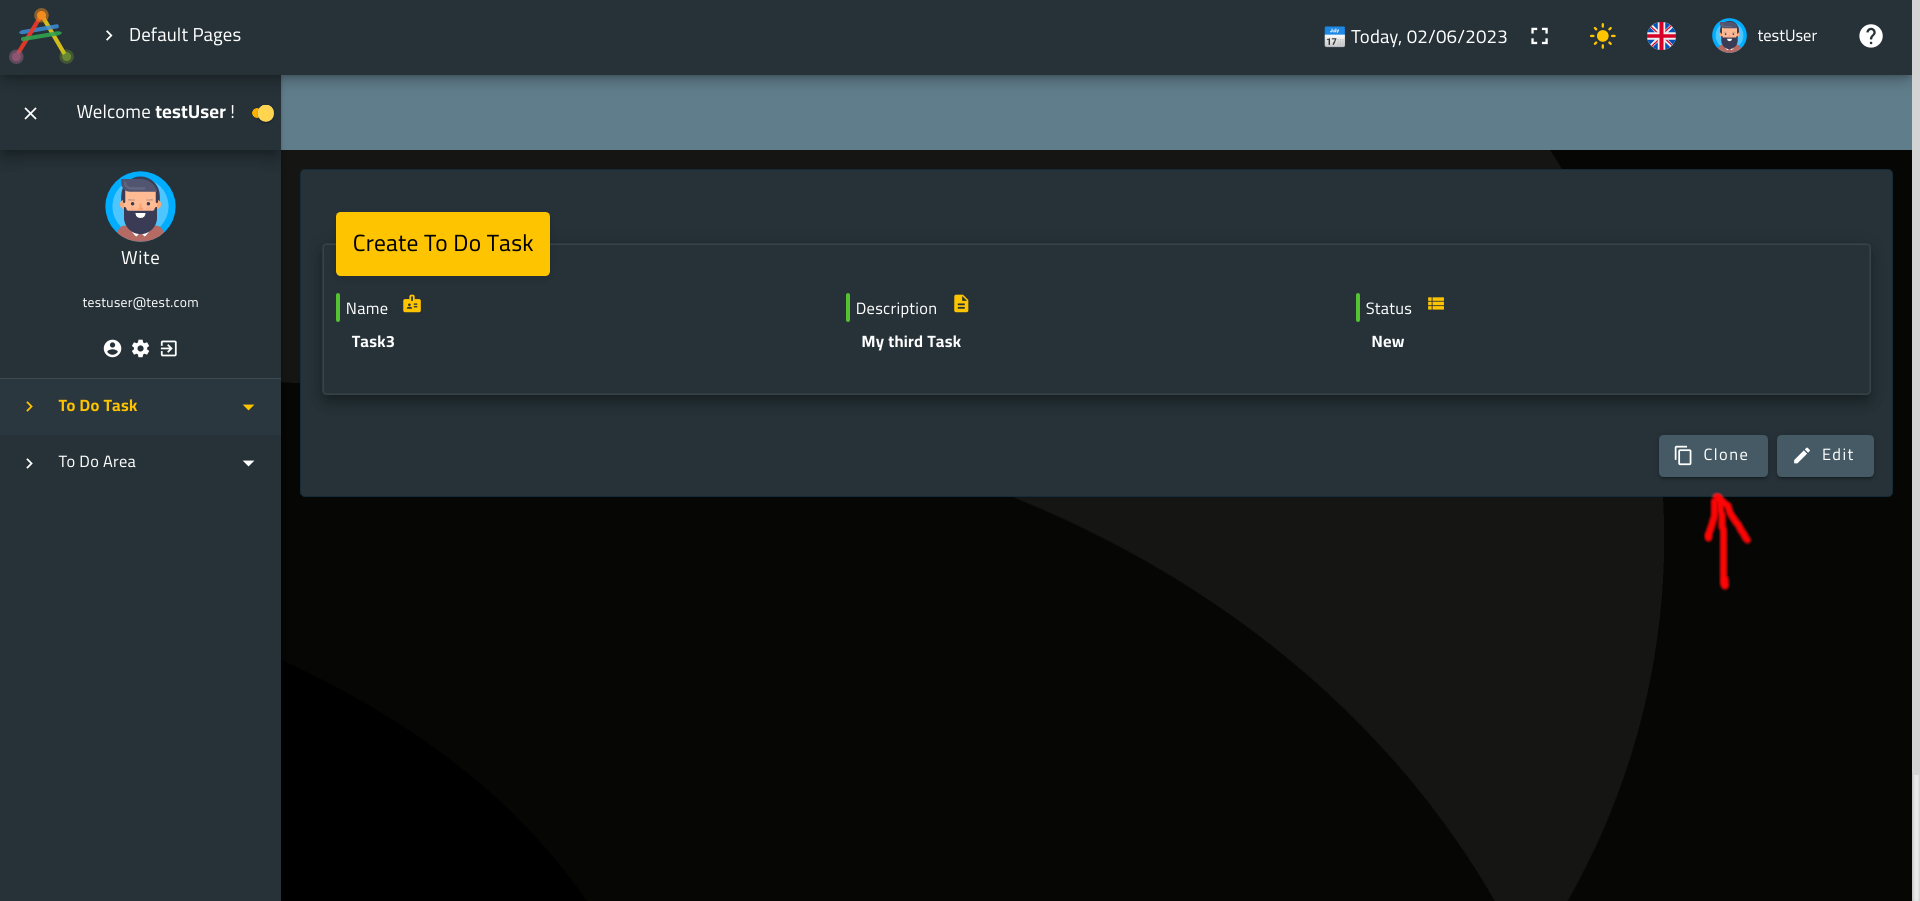
This behaviour comes handy especially when you have the possibility to create multiple instances without leaving the page.
After creating your first task, go ahead and use the clone action to create the remaining ones.
Now let’s get back to ToDoTask search use case and fetch all the available Tasks.
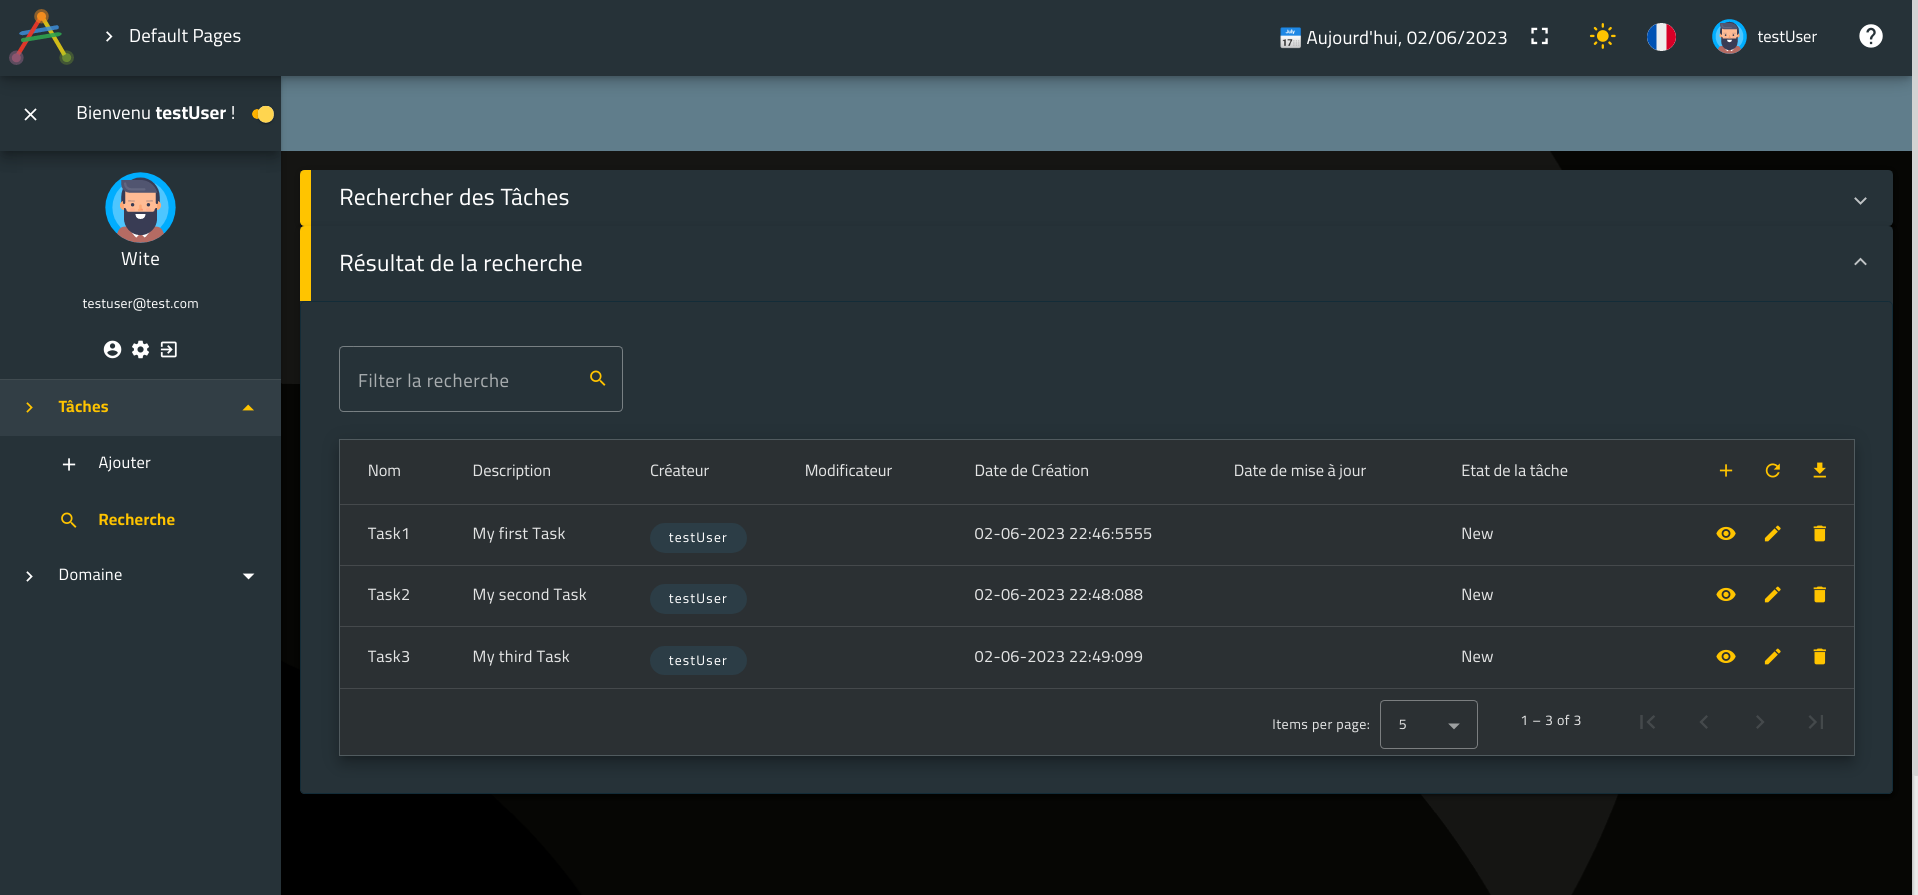
🙋♂️ Notice how everything is translated to
French.
ℹ️ You might want to switch languages back and forth each time you select a page and verify that the translations are as expected.
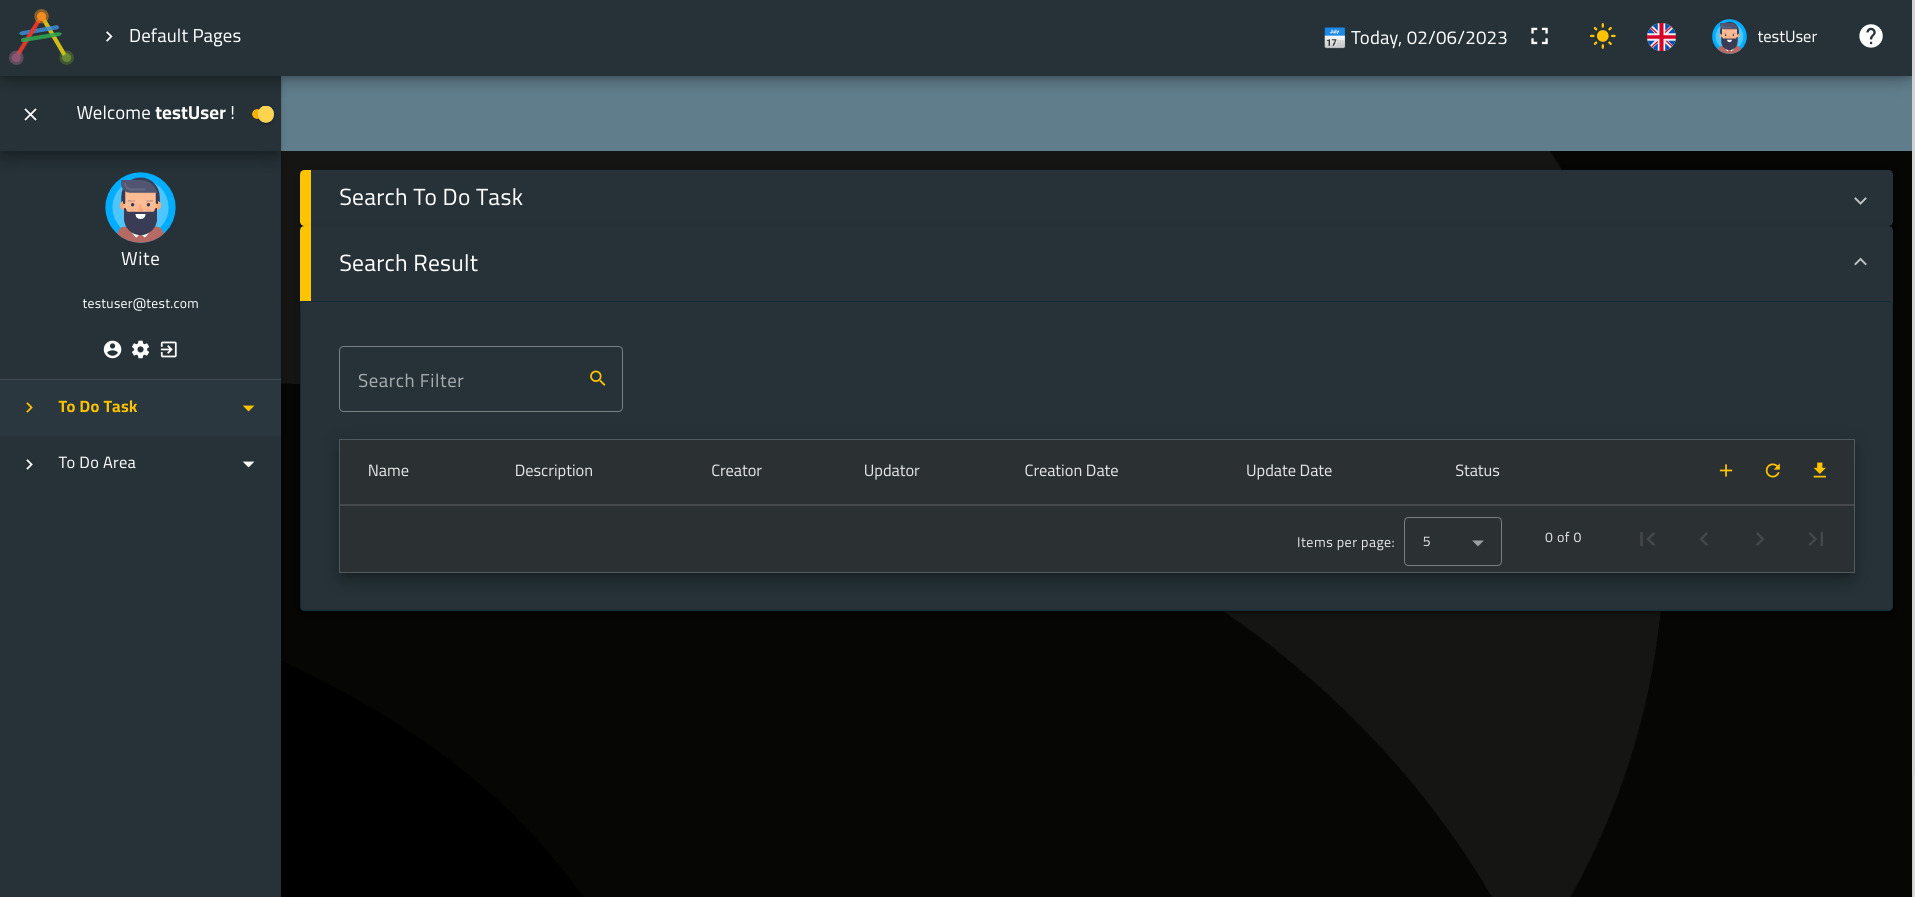
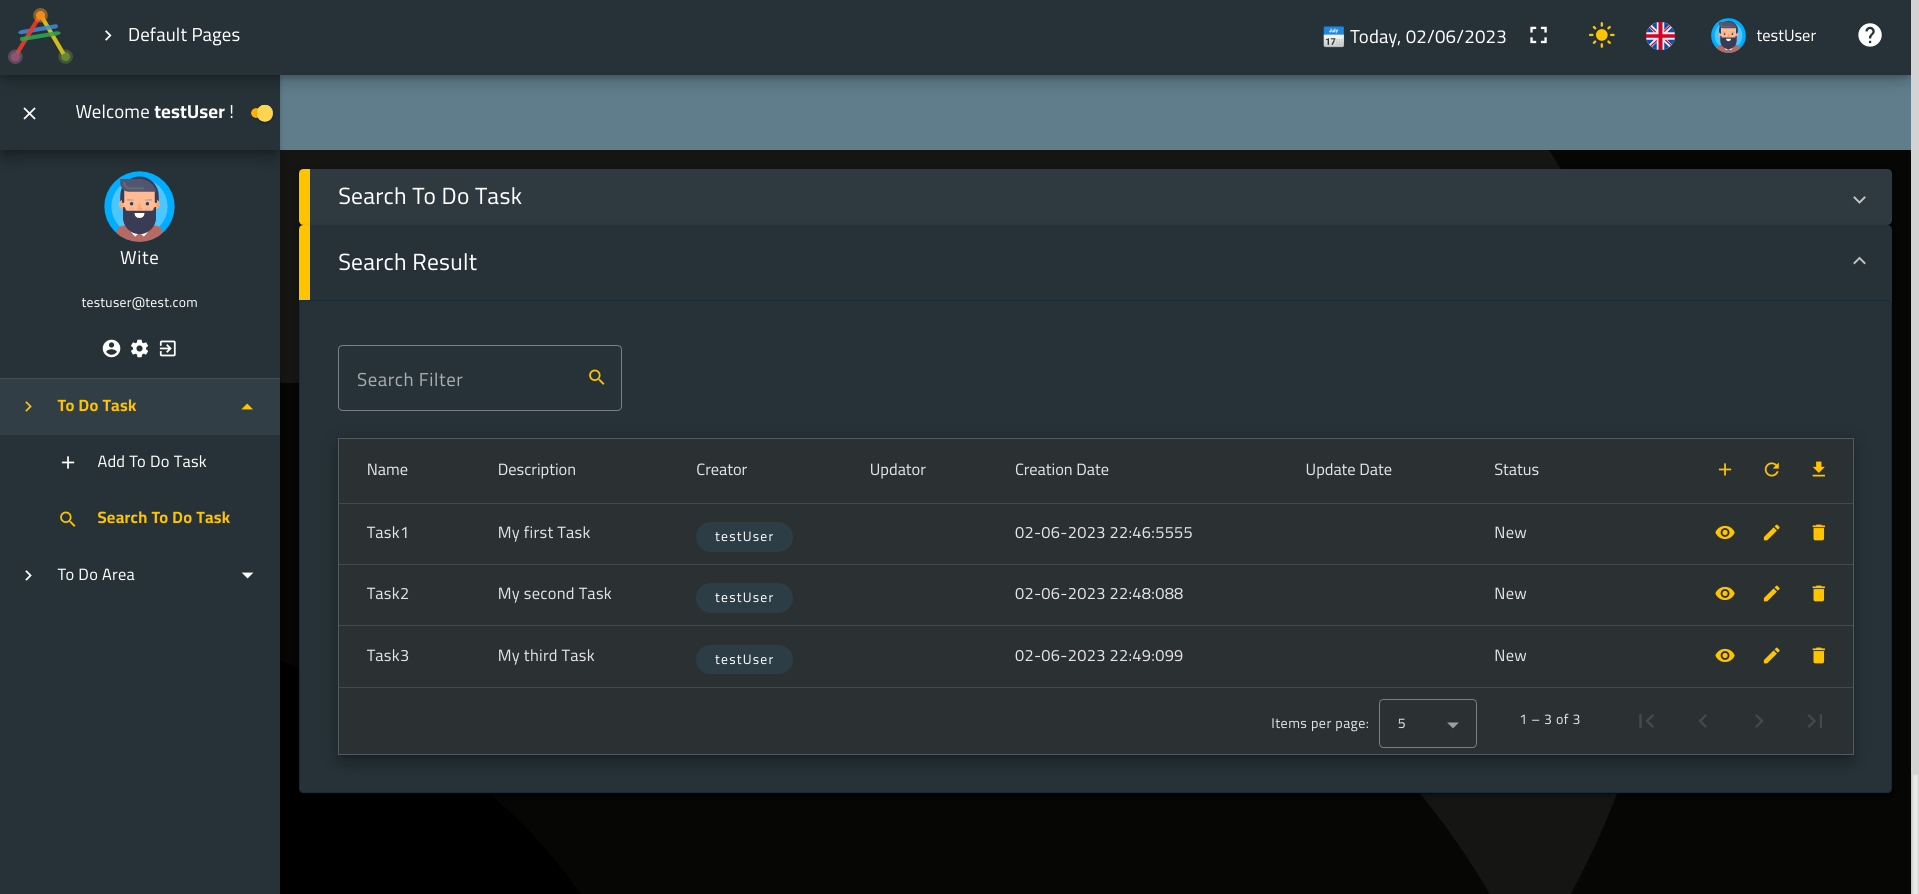
Brilliant!
This is the search result use case.
All our Tasks are there.
Besides, you can make the following actions without leaving this use case:
- create
- refresh
- export
- view
- edit
- delete
Go ahead, test your use case and have a walk through all the provided actions.
3. ToDoArea Use Cases
Now, let’s create an Area of interest as follows:
Area1My first Area of interest
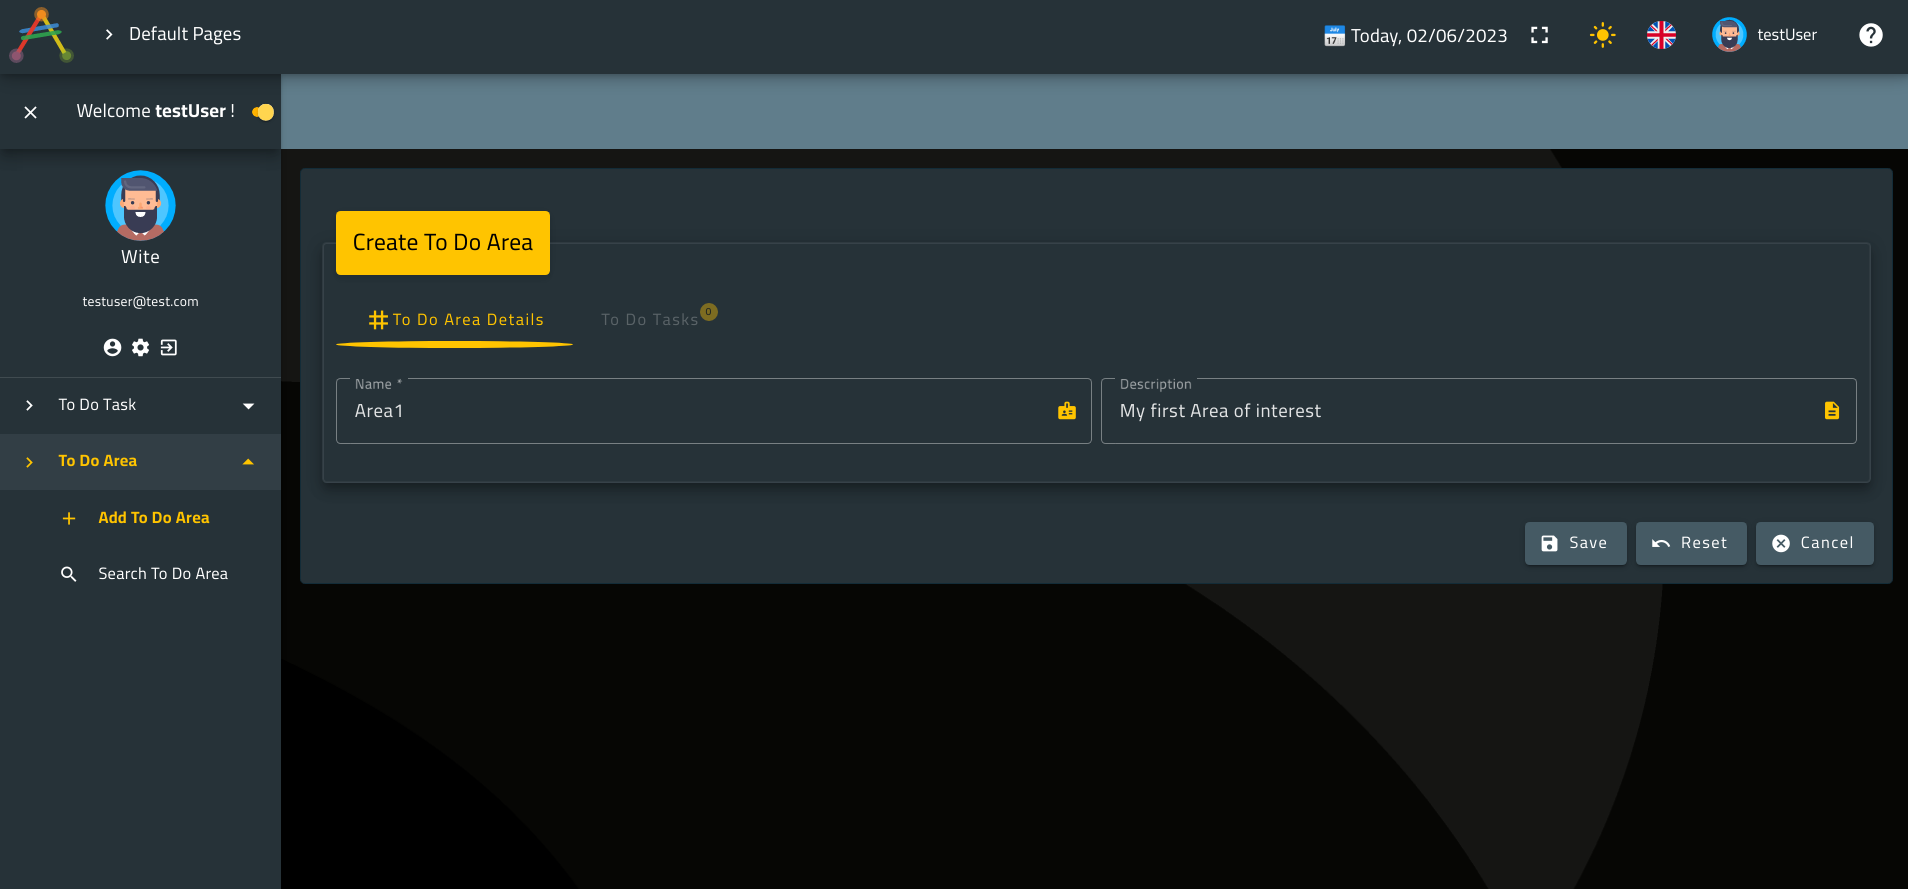
Click save.

Your instance have been saved and you were taken to the view layout.
Now do not leave this page; there is one more thing we need to do.
Do you remember, in the design phase, we said that ToDoArea has a relationship with ToDoTask ?
This relationship is described by the fact that ToDoArea can contain zero, one or many ToDoTask instances.
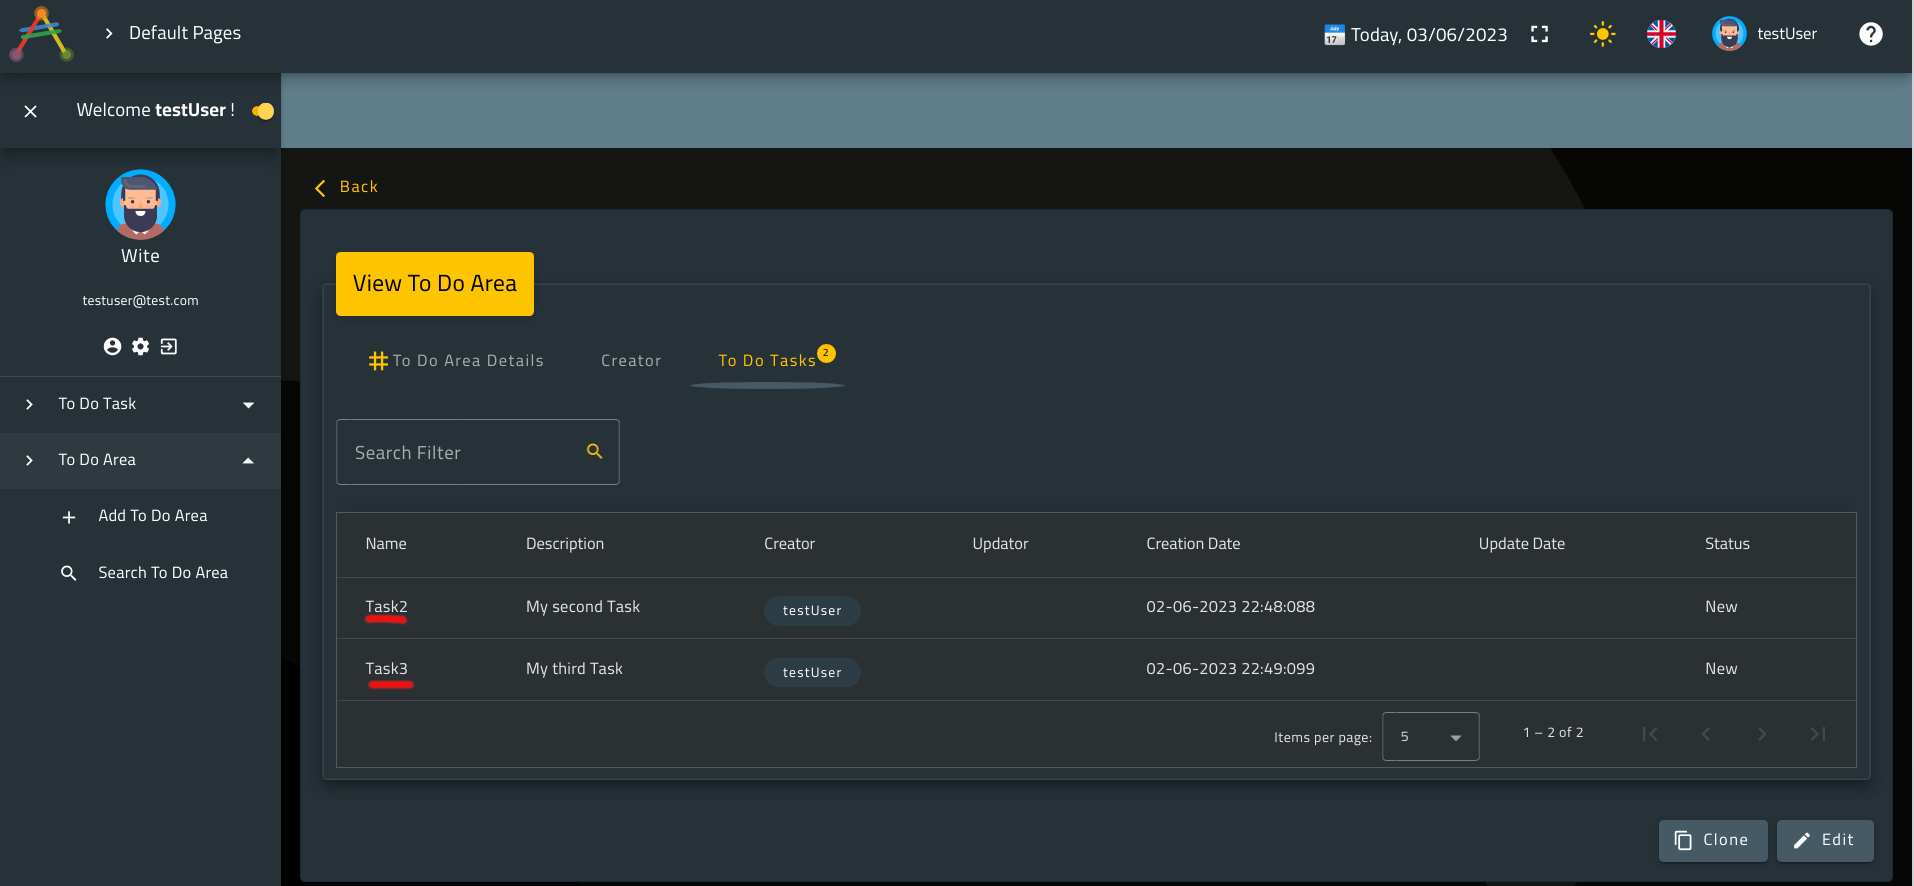
Well, this relation is depicted by tha tab labeled To Do Tasks in the Create ToDoArea use case.
Let’s assign Task1 and Task2 to Area1.
While in the previous view page click edit.
Click on the tab To Do Tasks.

Let’s look at the French version of this page while we’re at it.
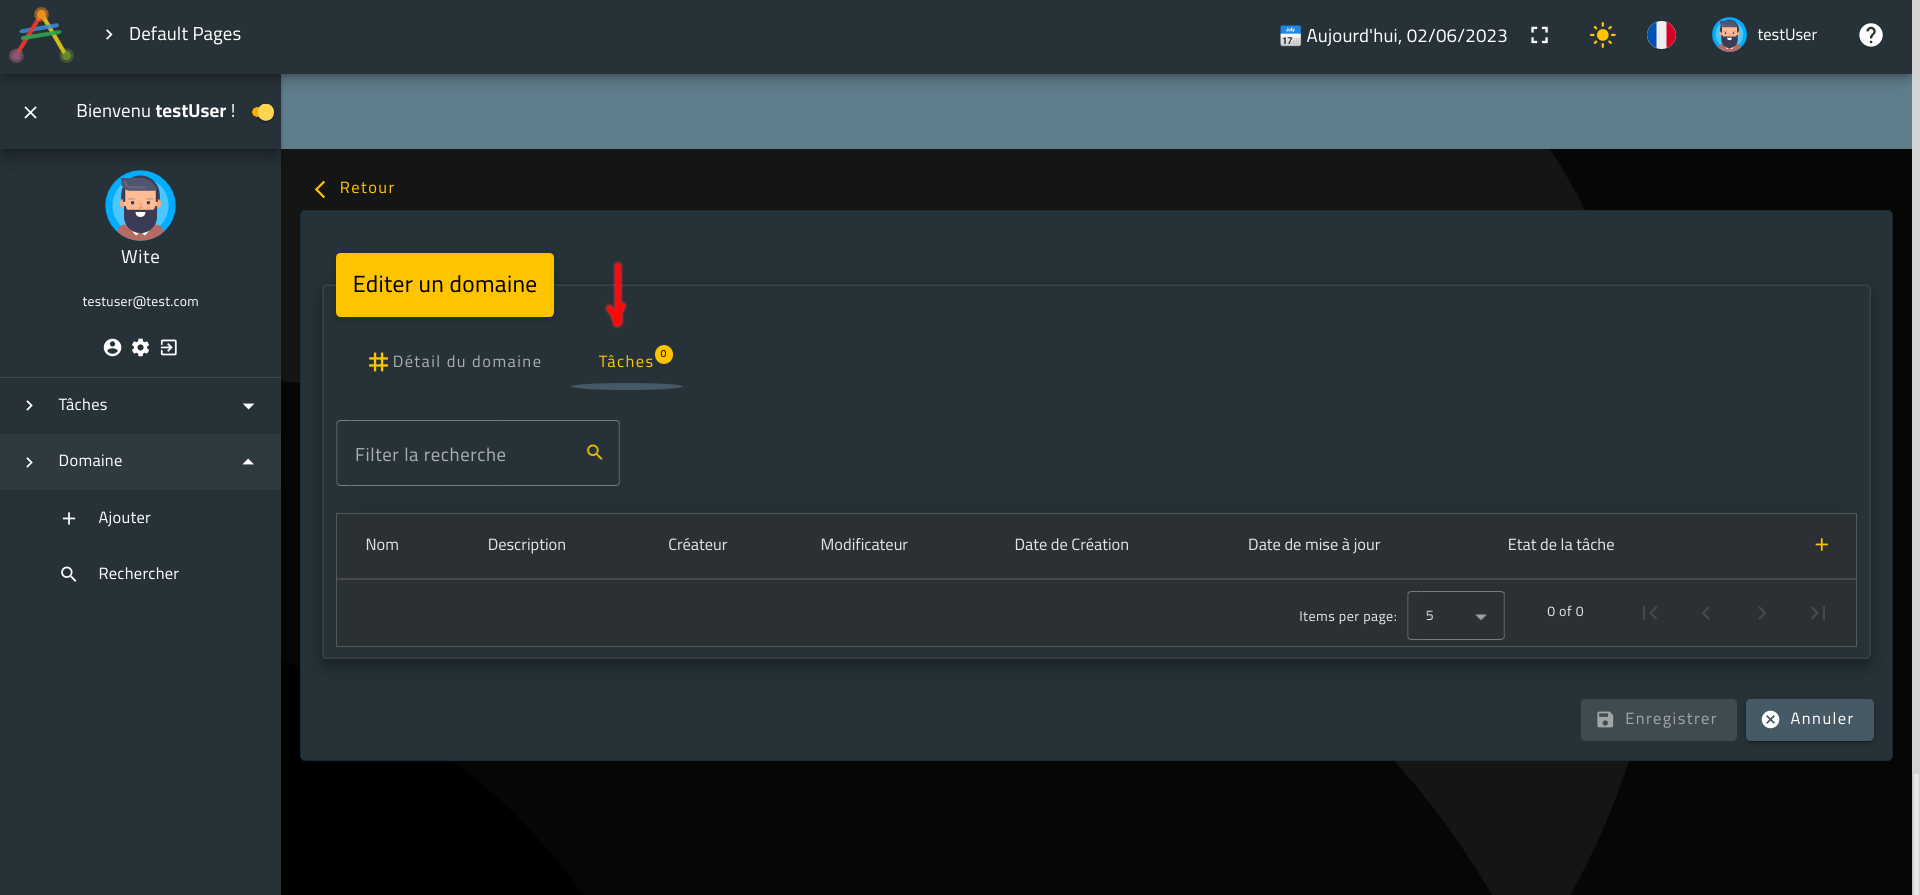
Brilliant!
Even the relationship name was translated to French.
Actually, that was expected since we have already configured a traslation entry in French for the relationship between ToDoArea and ToDoTask.
Still, it’s always a relief when your application behave as expected.
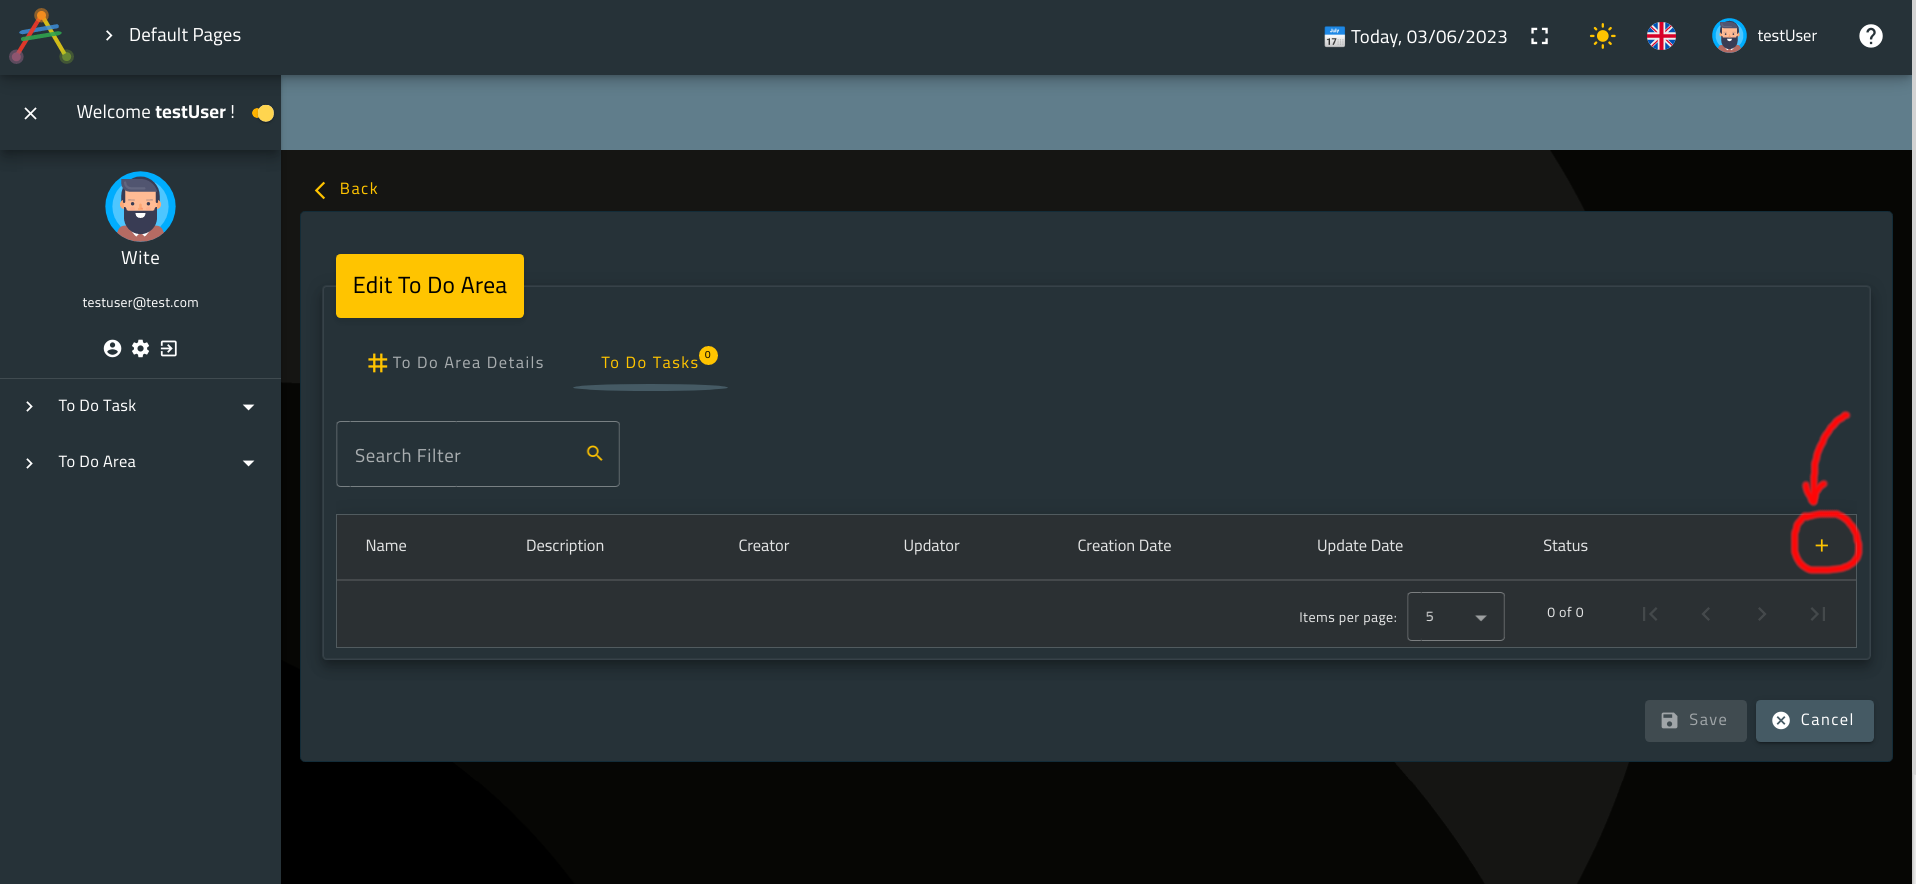
Now go ahead and assign Task1 and Task2 to Area1 by clicking on the button pointed out below:
Select Task1 and Task2 then click on select many button as displayed in the picture below:
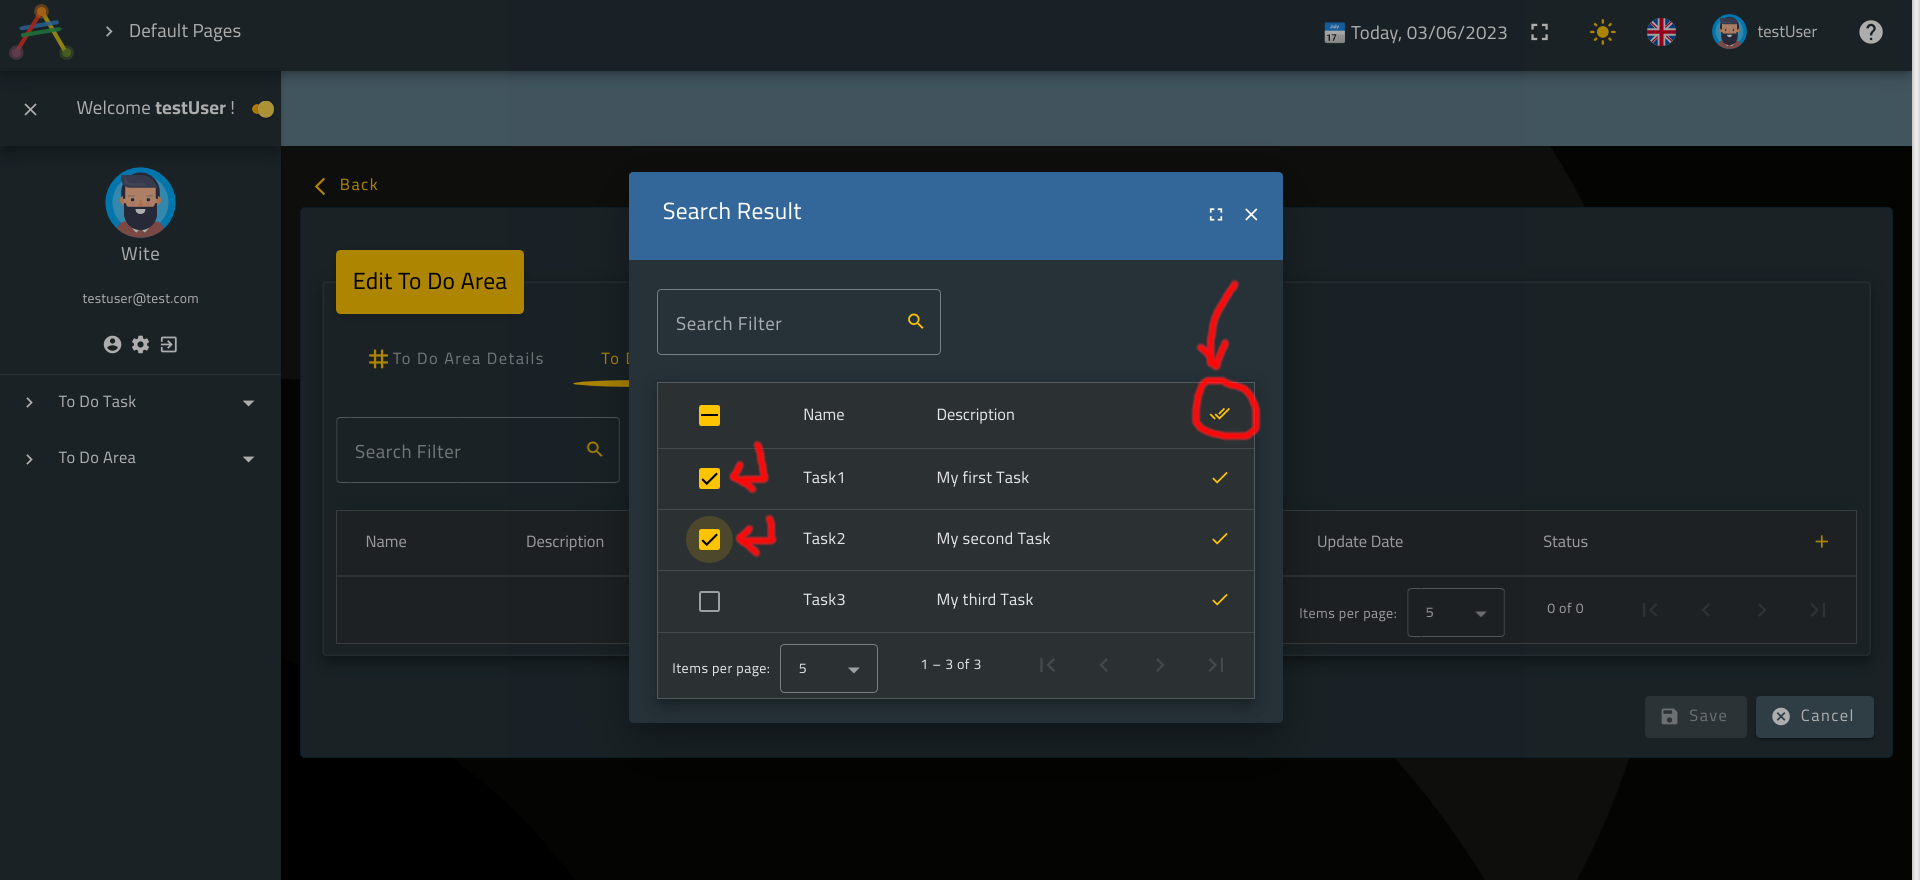
You should be taken to the following display:
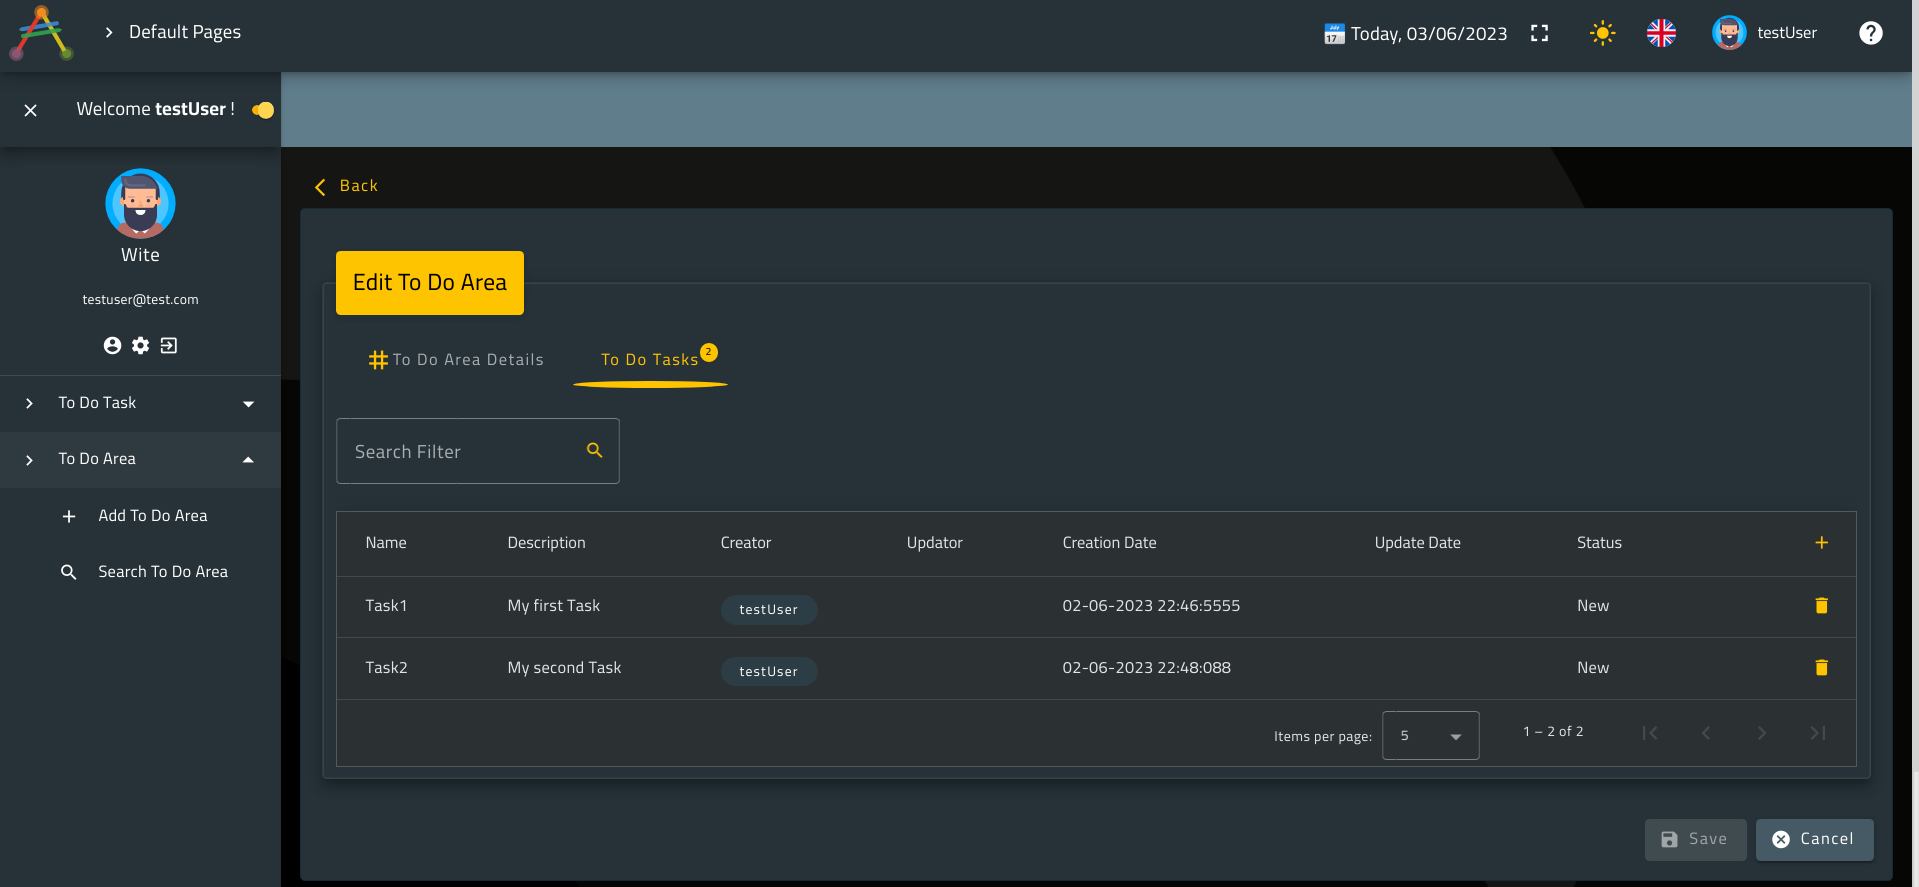
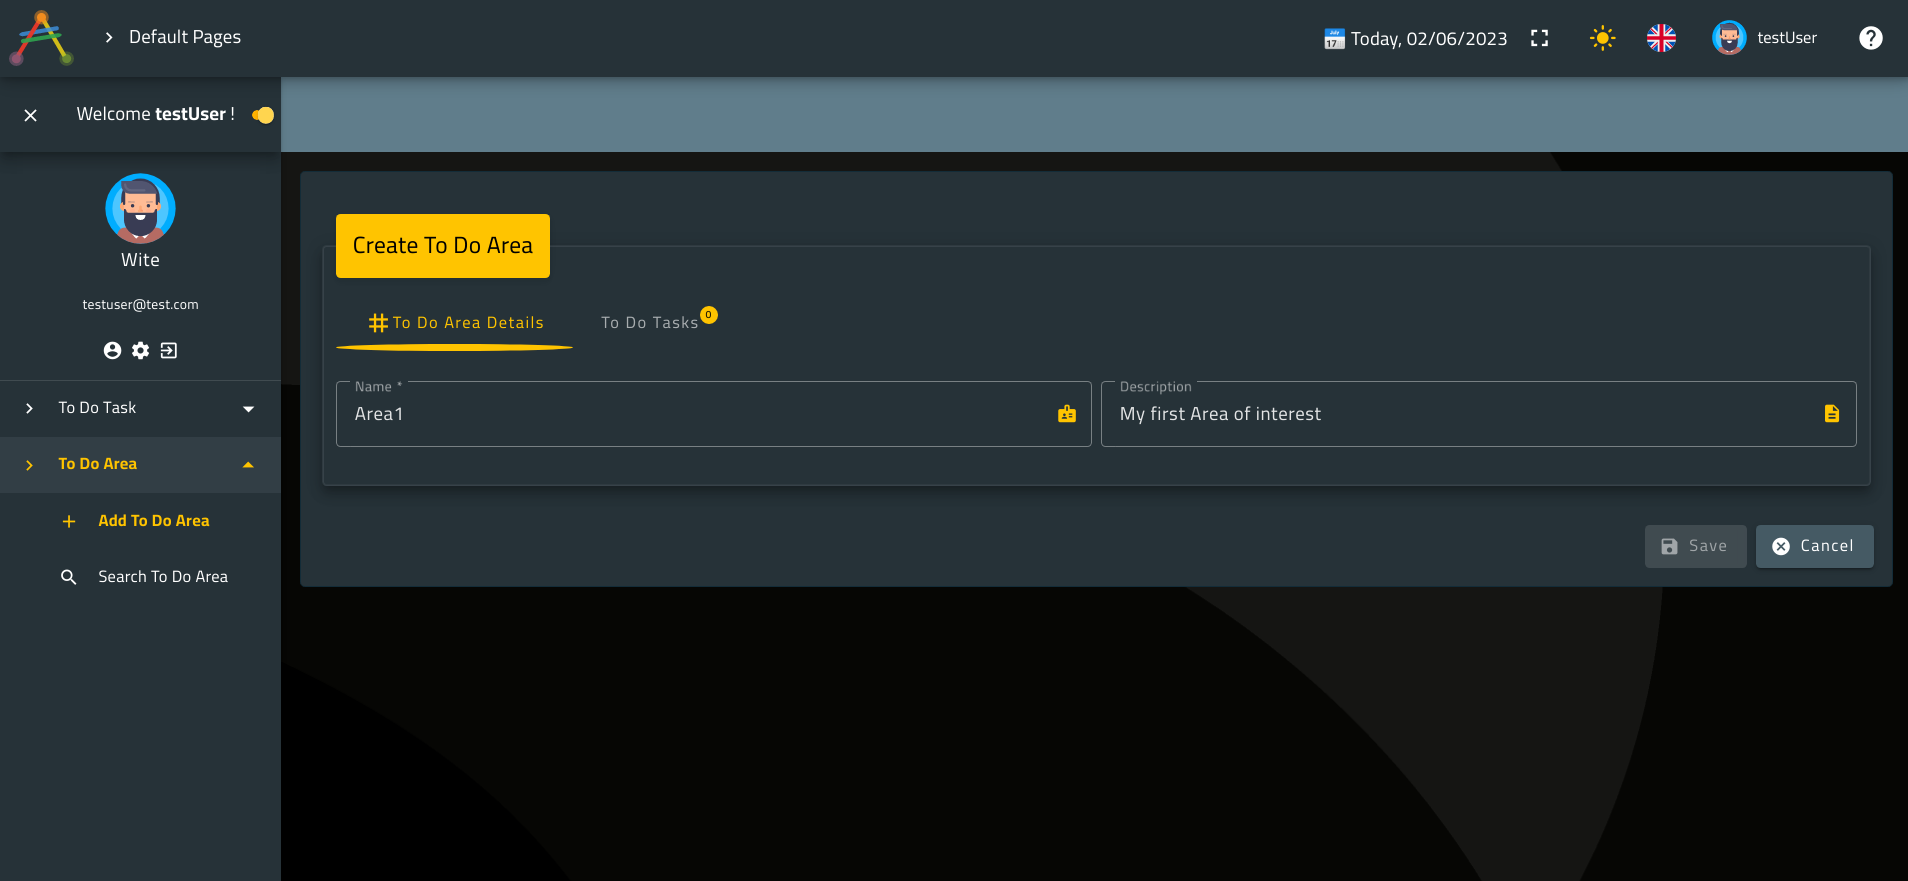
🙋♂️ Check the save button.
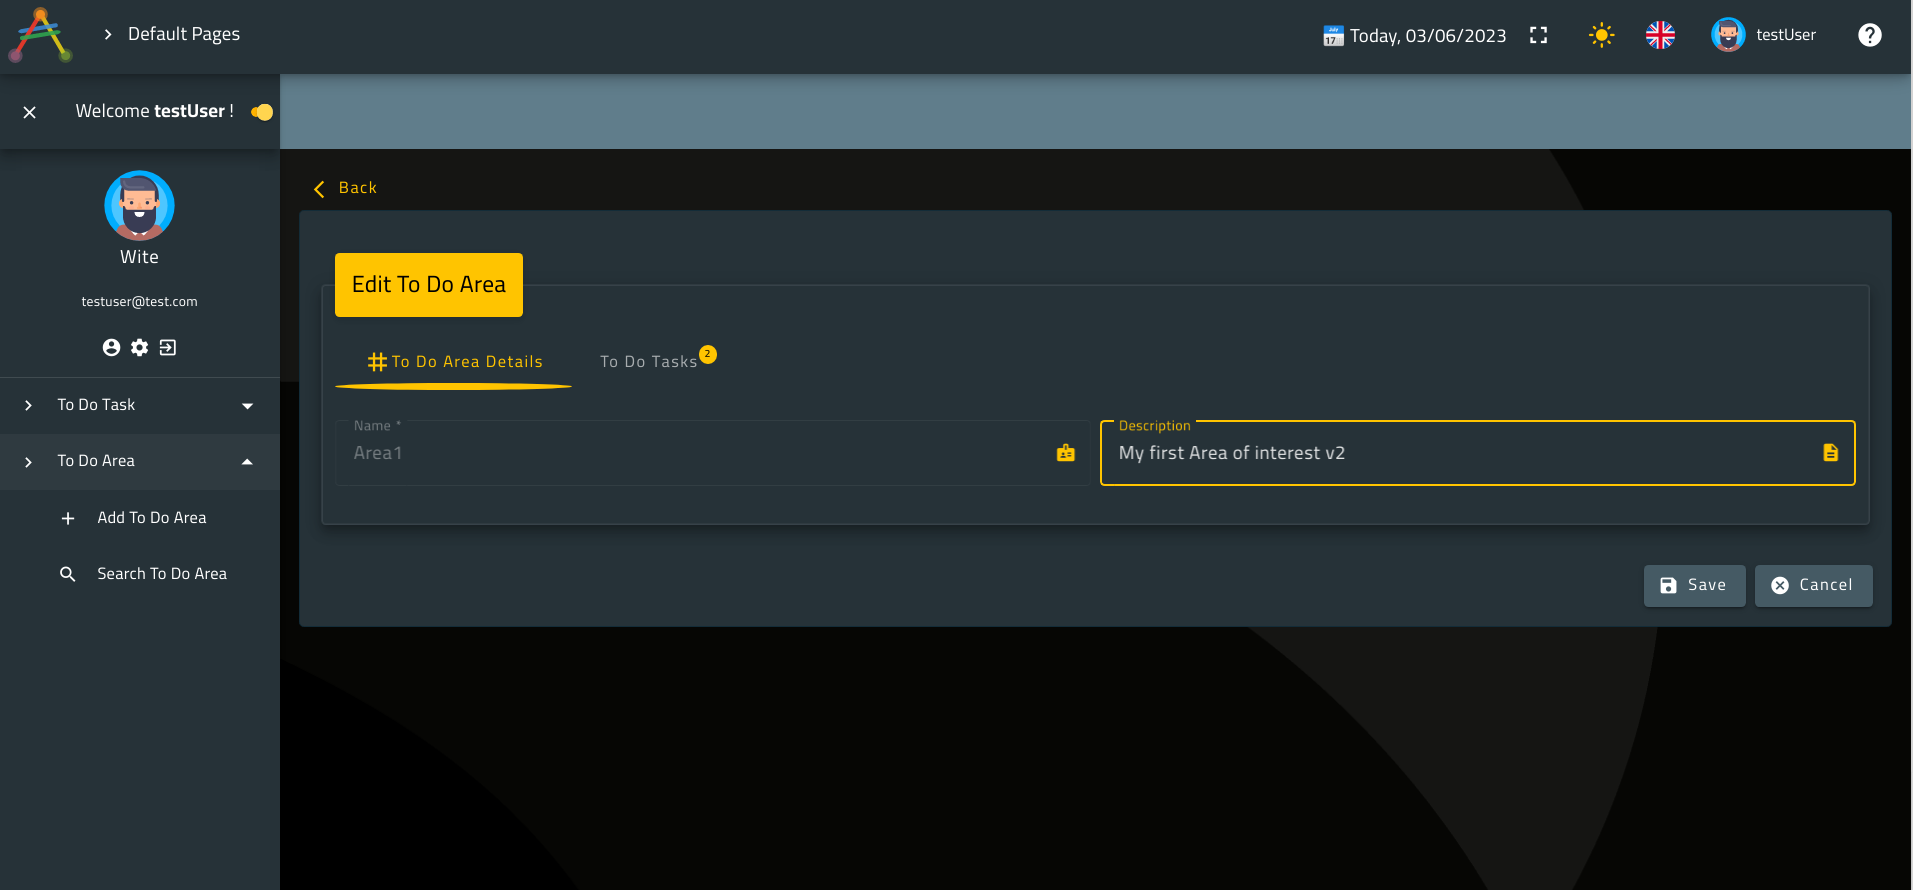
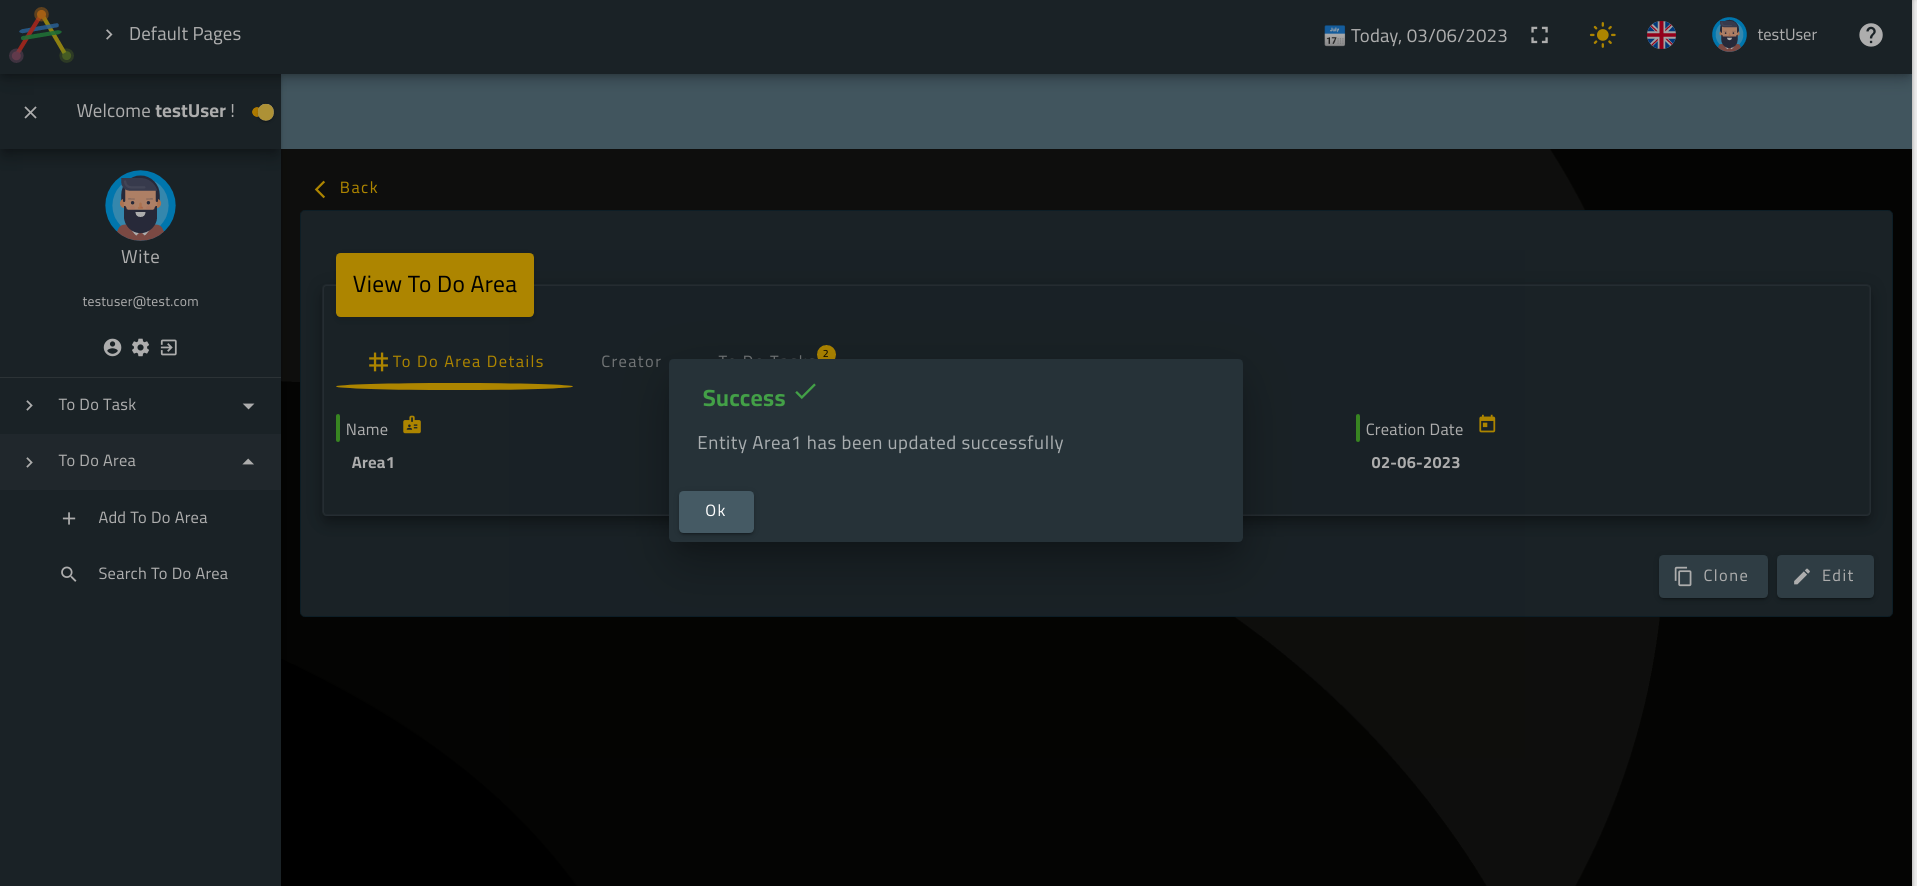
If it is disabled after adding Task1 and Task2 (like in my case!) just go to the To Do Area Details tab and update the description (add v2 for example) in order to trigger the button update to visible.
Now, go ahead and fetch all ToDoArea object using the menu To Do Area > Search To Do Area.
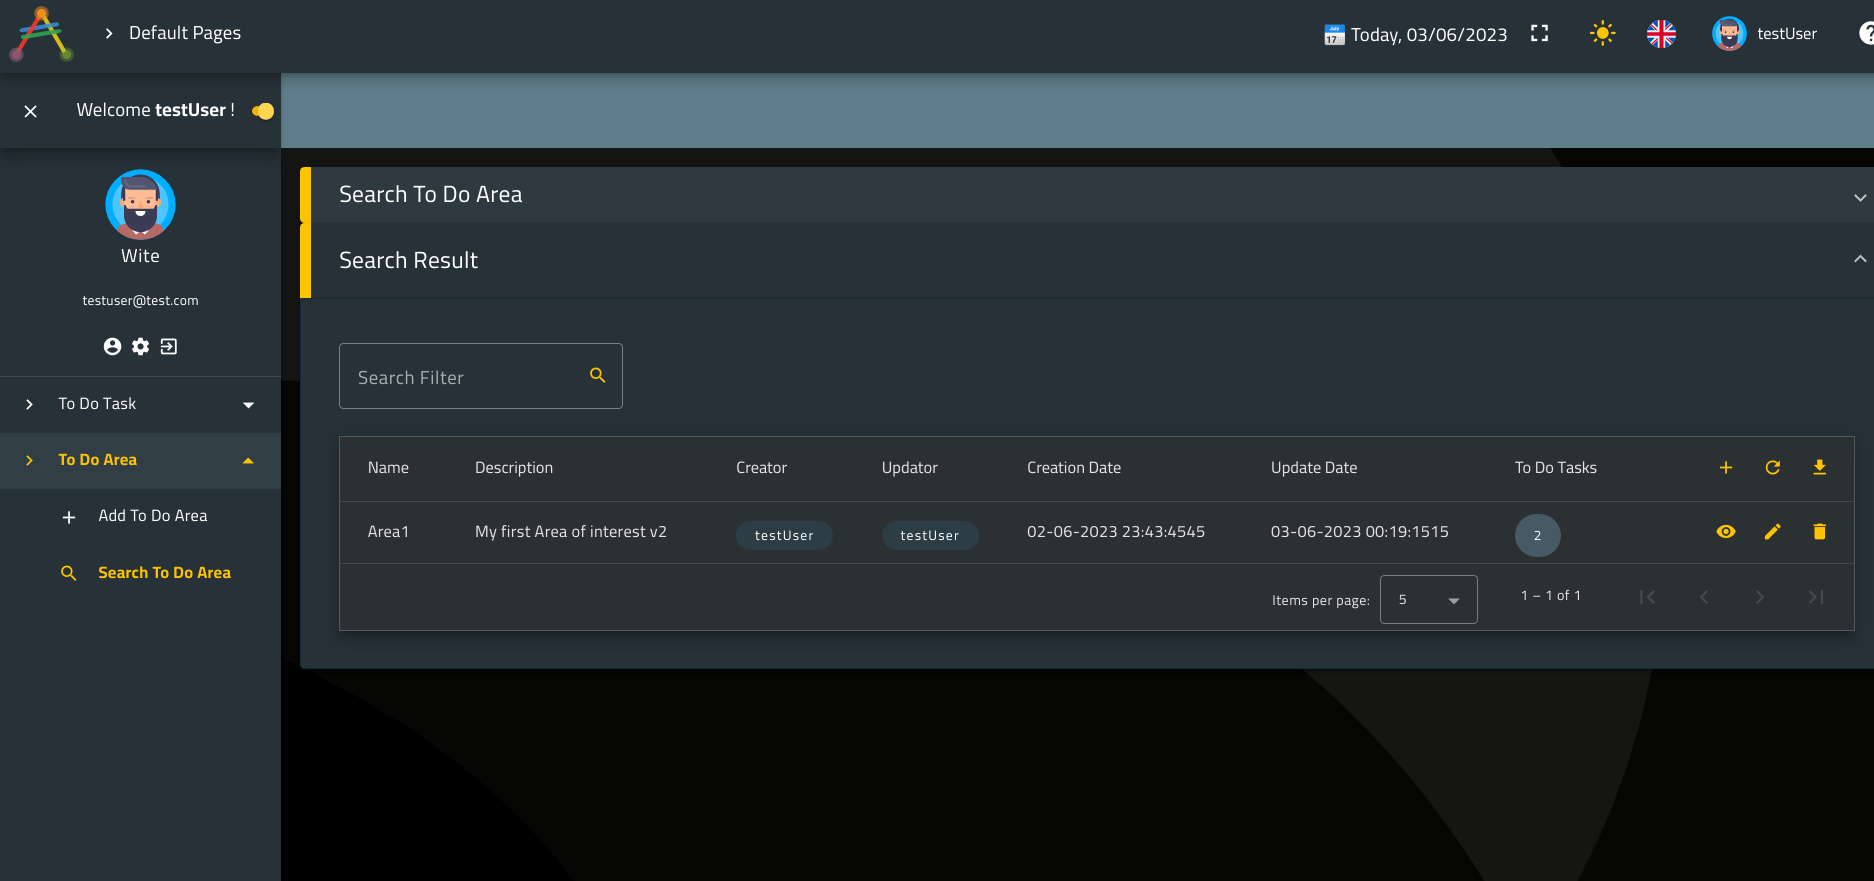
Let’s unassign Task1 and assign Task3 to Area1.
From the Search Result, click on edit button located in the table row actions.
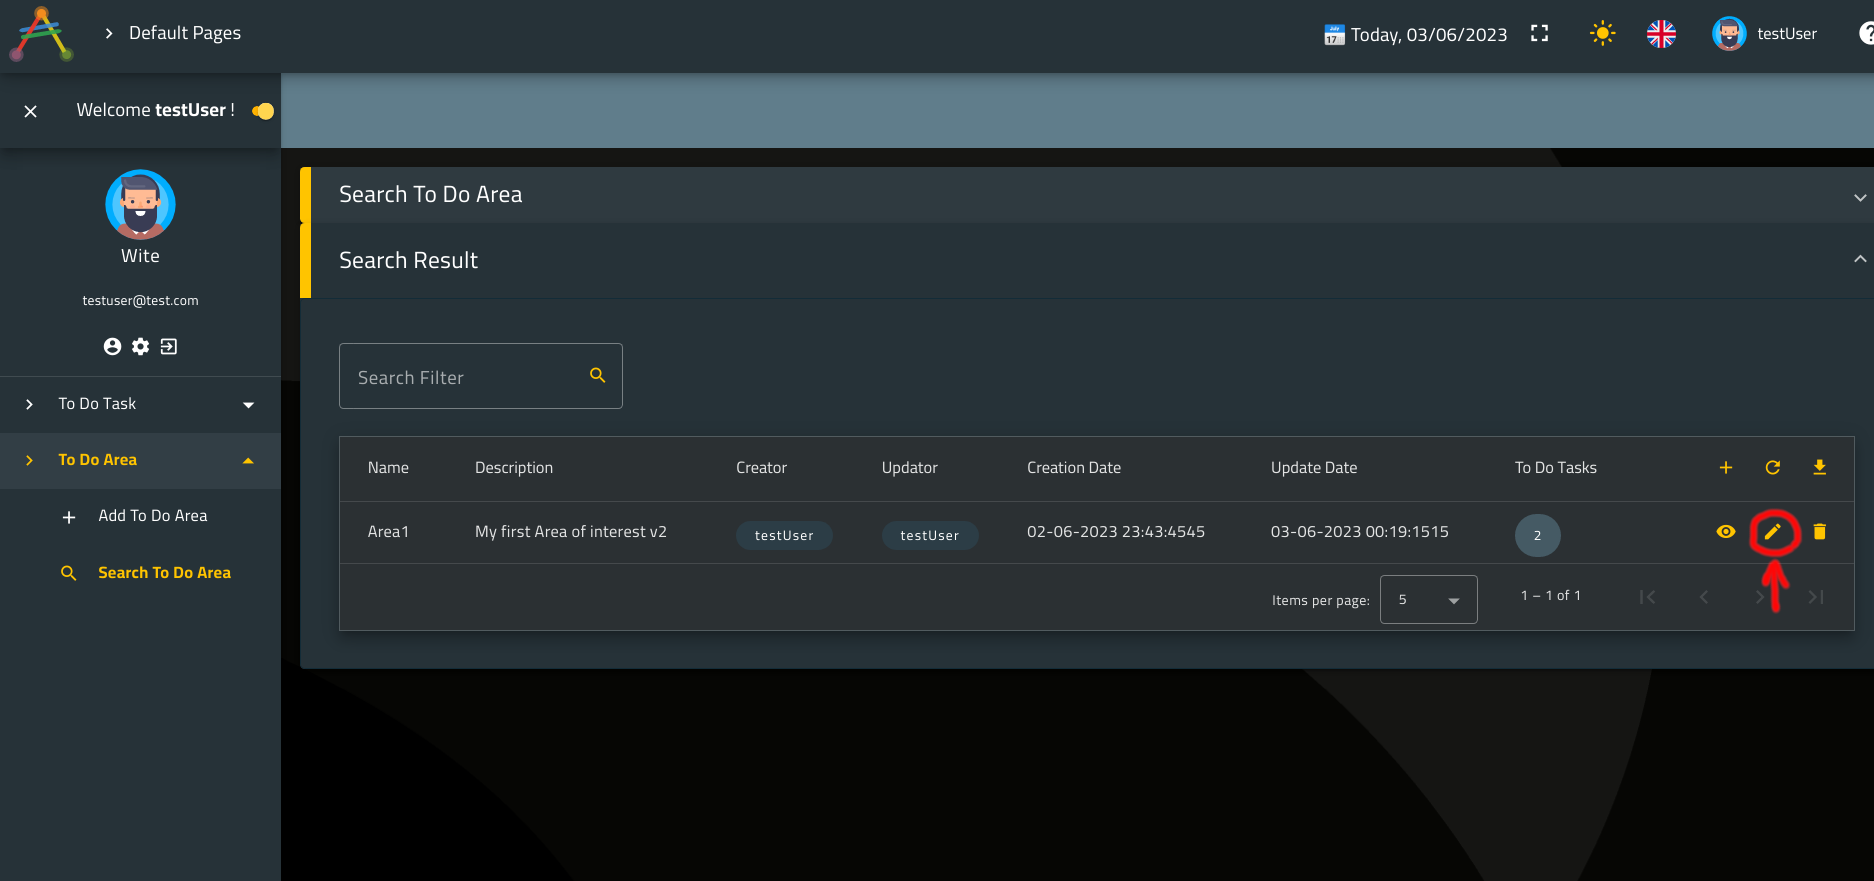
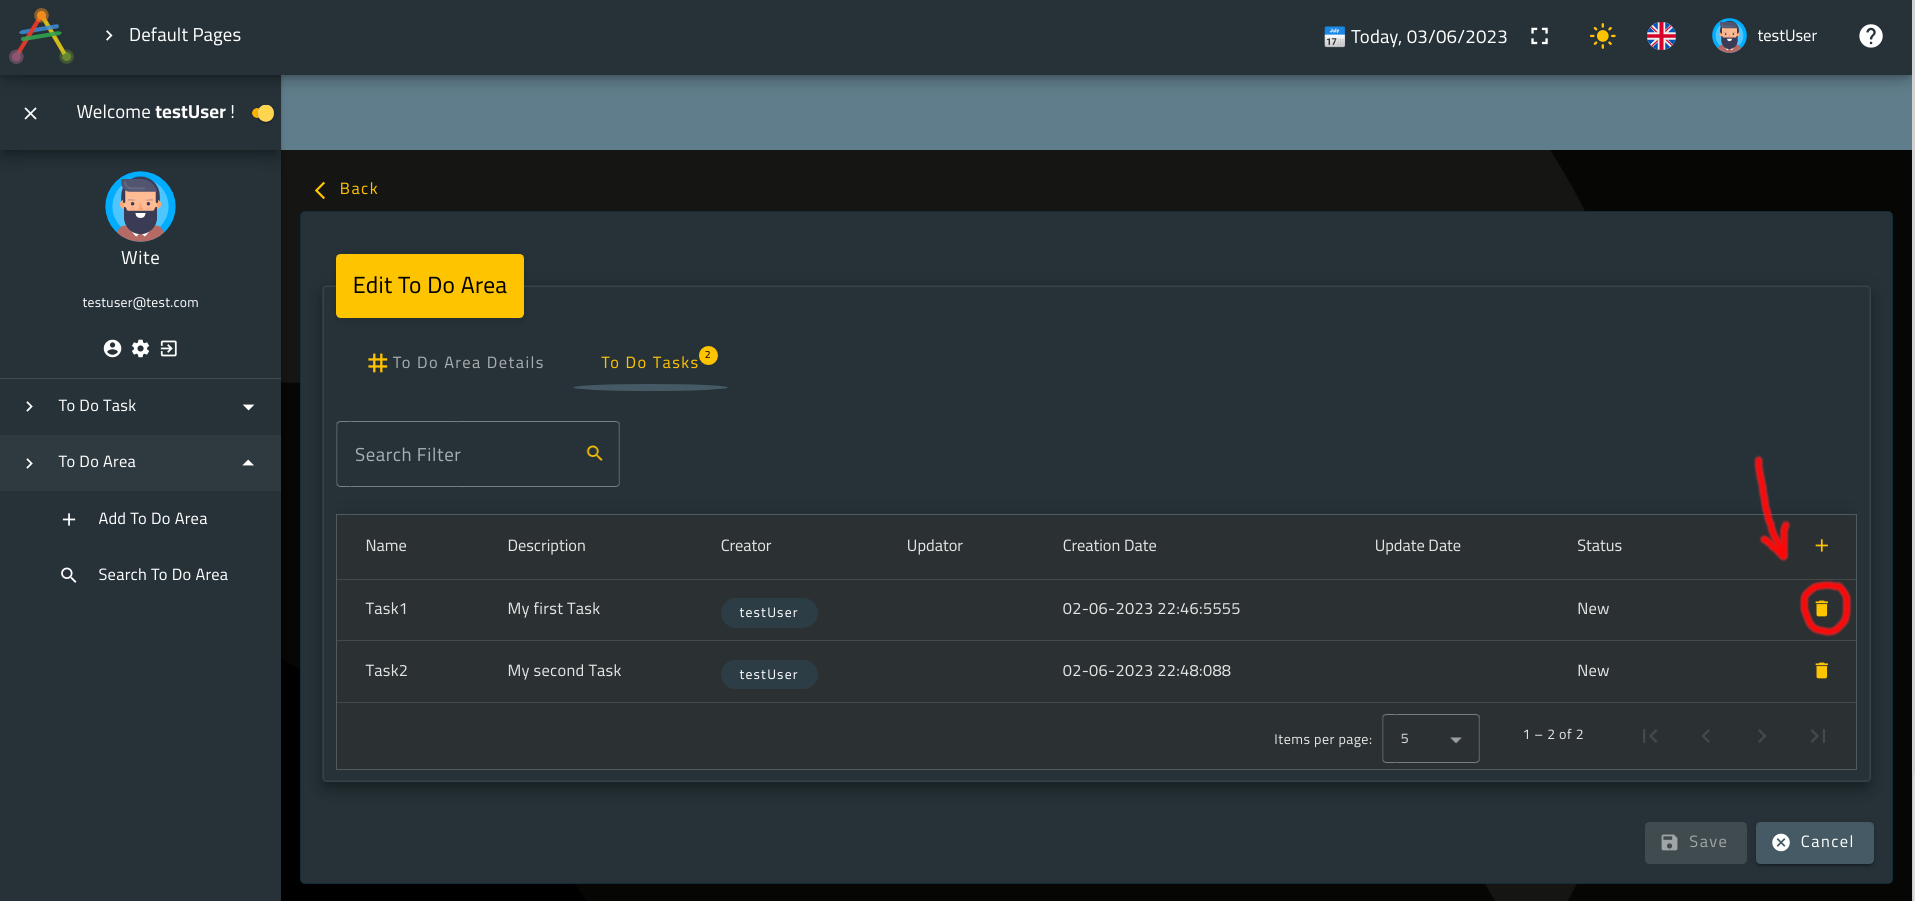
Click on the relationship tab and remove Task1 from the list of assigned tasks using the action remove pointed out in the picture below:
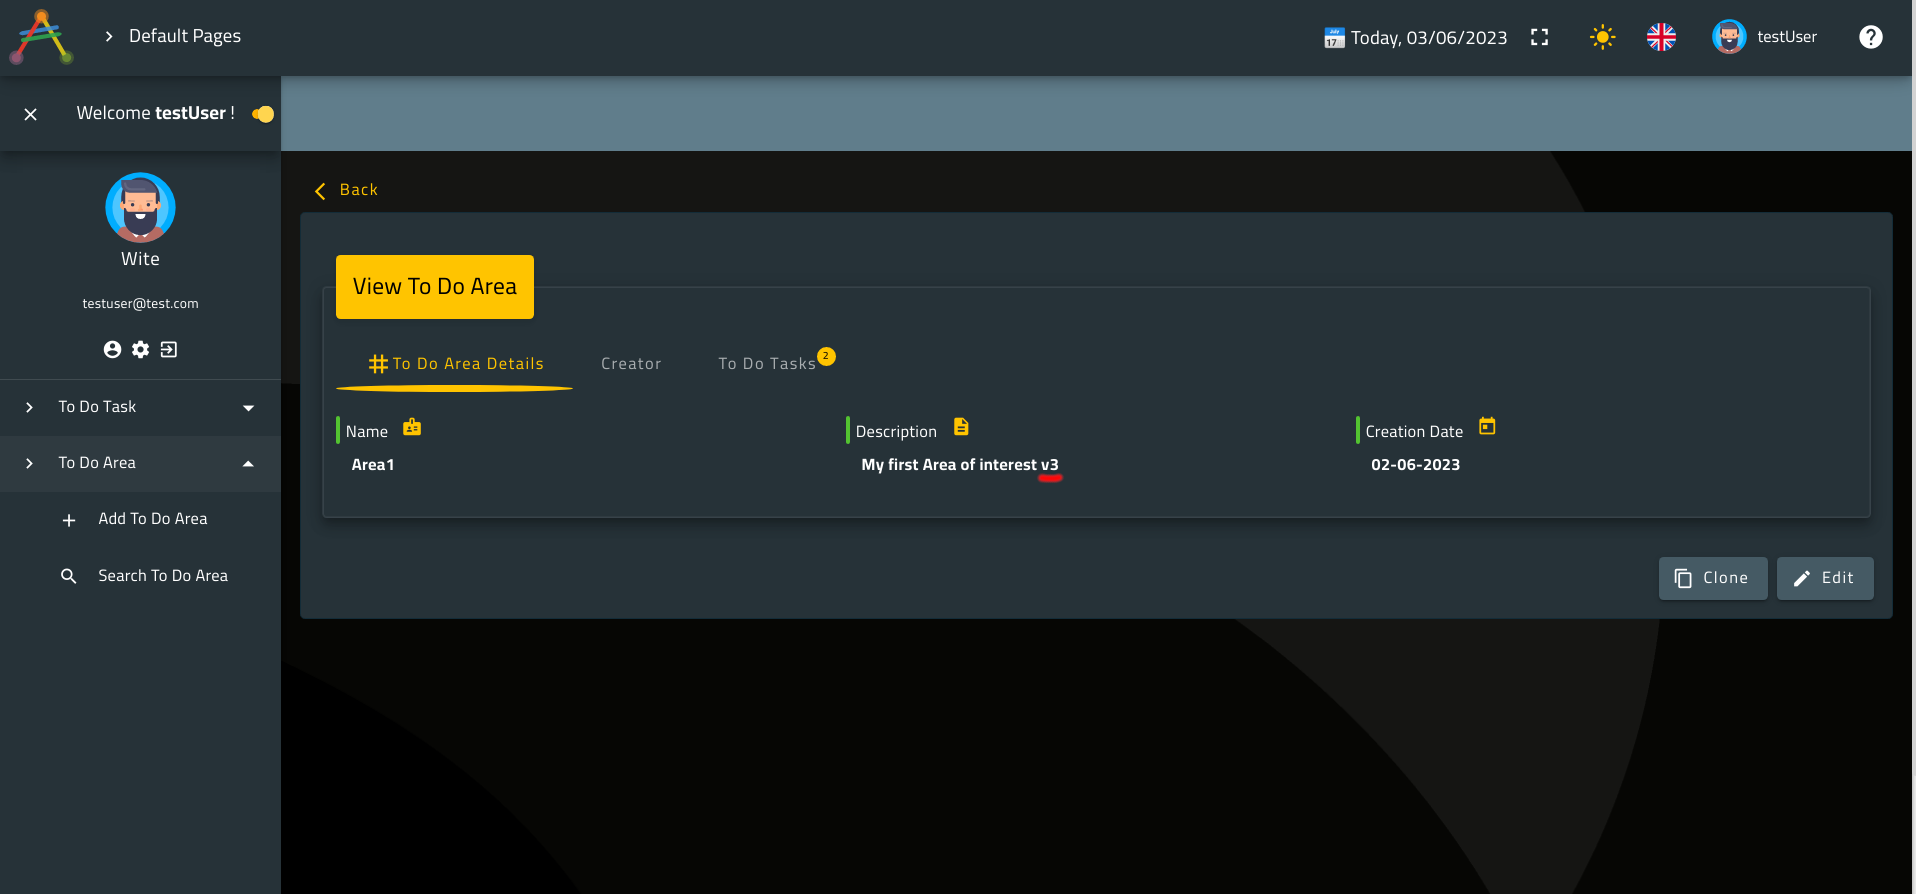
Assign Task3 just like as you did earlier.
Update the description (by adding v3 for example) and save your instance.
Now go ahead and fetch all ToDoTask instance as you did earlier.
Delete Task3.
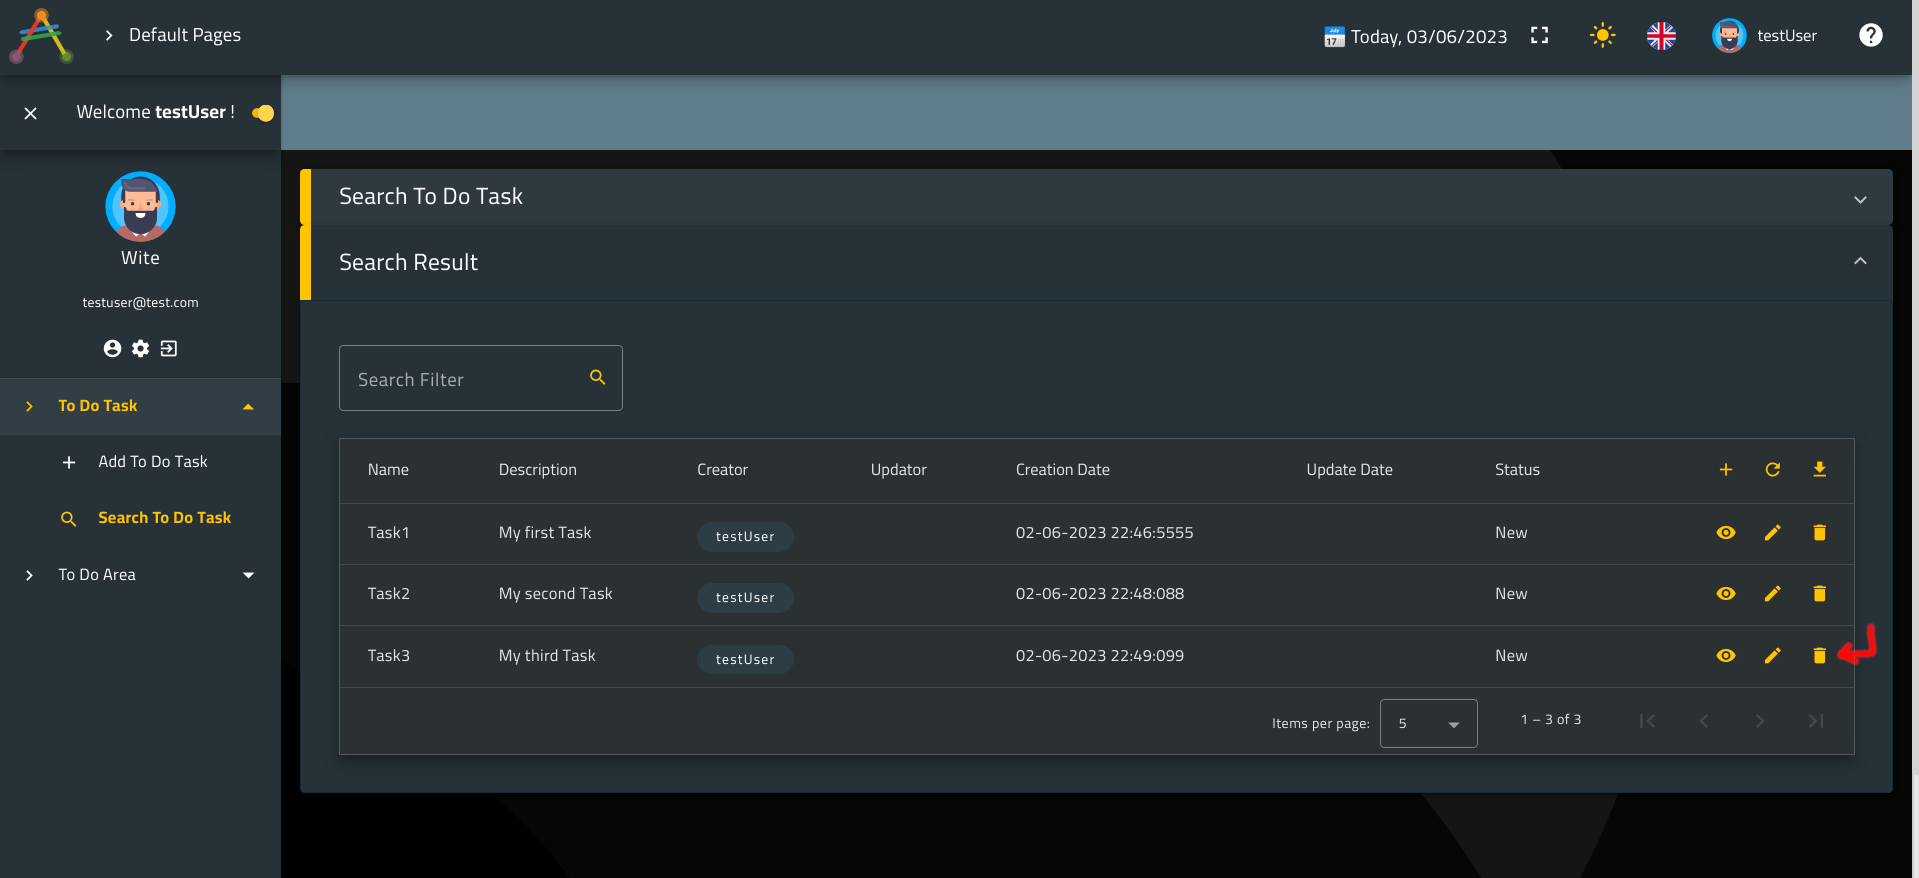
Accept the confirmation message (which is also available in the second language that we have added).

Now, fetch again all the Tasks.
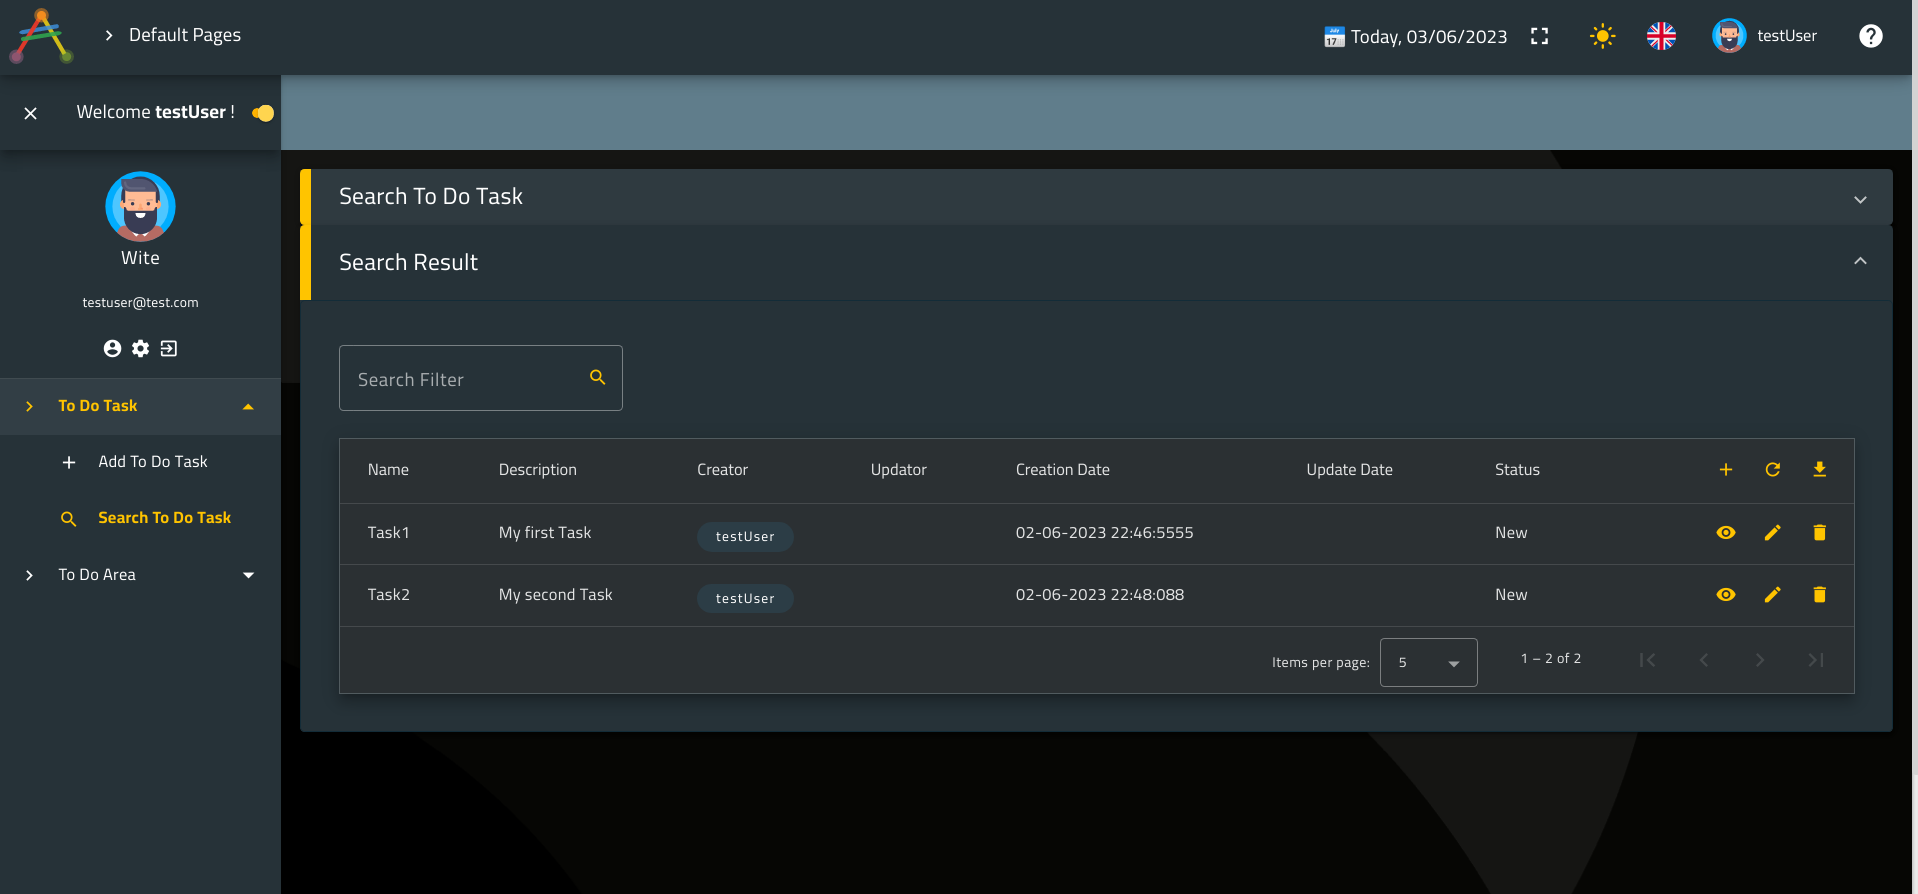
Notice that Task3 does not exist any more.
And…Voilaa! We are done! 🎉
ℹ️ Note that there is still topics which we haven’t come across yet in this tutorial.
These topics will be discussed in next tutorials.
Advanced topics on the other hand, will require a fair amount of knowledge regarding software development.
But we think that what you have seen all along this tutorial is more than enough for you to start creating your applications.
🎉🎉🎉 Congratulations and thank you for finishing this tutorial! 🎉🎉🎉
Your ToDoApplication is now fully functional and ready to use!
In this step-by-step tutorial you have first designed your ToDoApplication and defined your business requirement.
Then, you have used Averos Designer to design your application entities along with relevant use cases according to your business requirements.
Finally, you had the opportunity to test and explore your application at its finest details.
You really must be proud of what you did ! 👏👏👏
ℹ️ This tutorial was intended to give citizen developers an overview of the main capabilities offered by our lowcode platform WiBuild along with Averos Designer.
Nevertheless, a lot of topics and advanced features was not mentioned in this tutorial.
These features could the subject of other dedicated tutorials in the future.
Also, it is worth mentioning that since you are using averos framework, your generated applications are by default fully responsive and progressive-ready.
So, you might want to test your applications on your mobile so that you take a look at what the responsive layout looks like on mobile devices.
Besides, if you are an experienced developer, with good knowledge of software development, you might want to know more about averos framework technical details by checking out our step-by-step tutorial for developers available via the link below.
Averos Tutorial For Developers