Create Blank Pages
I. Introduction
In the previous section we created the use cases related to our business entities.
We used some of the averos generic use cases that we have configured according to our use case requirements.
But what if you happen to know few things about frontend development and wanted to create your own page with your own layout and logic ?
Fortunately, for this case, averos framework provides a feature that allows developers to integrate with the framework.
It provides the possibility to create a blank page and to integrate it to its default menu.
Do you remember how in the requirements phase, we have defined some additional requirements ?
Well, one of these requirements exactly matches this one.
In this section we will create a blank page that will be accessed publicly, and add a link to it in the public default menu using Averos Designer.
🔖 Please note that since this part requires some advanced technical knowledge, this feature could be relevant only for developer and IT professionals who has some knowledge about software development.
So you might want to skip this part if you feel not ready to do it.
II. Create a Blank Page
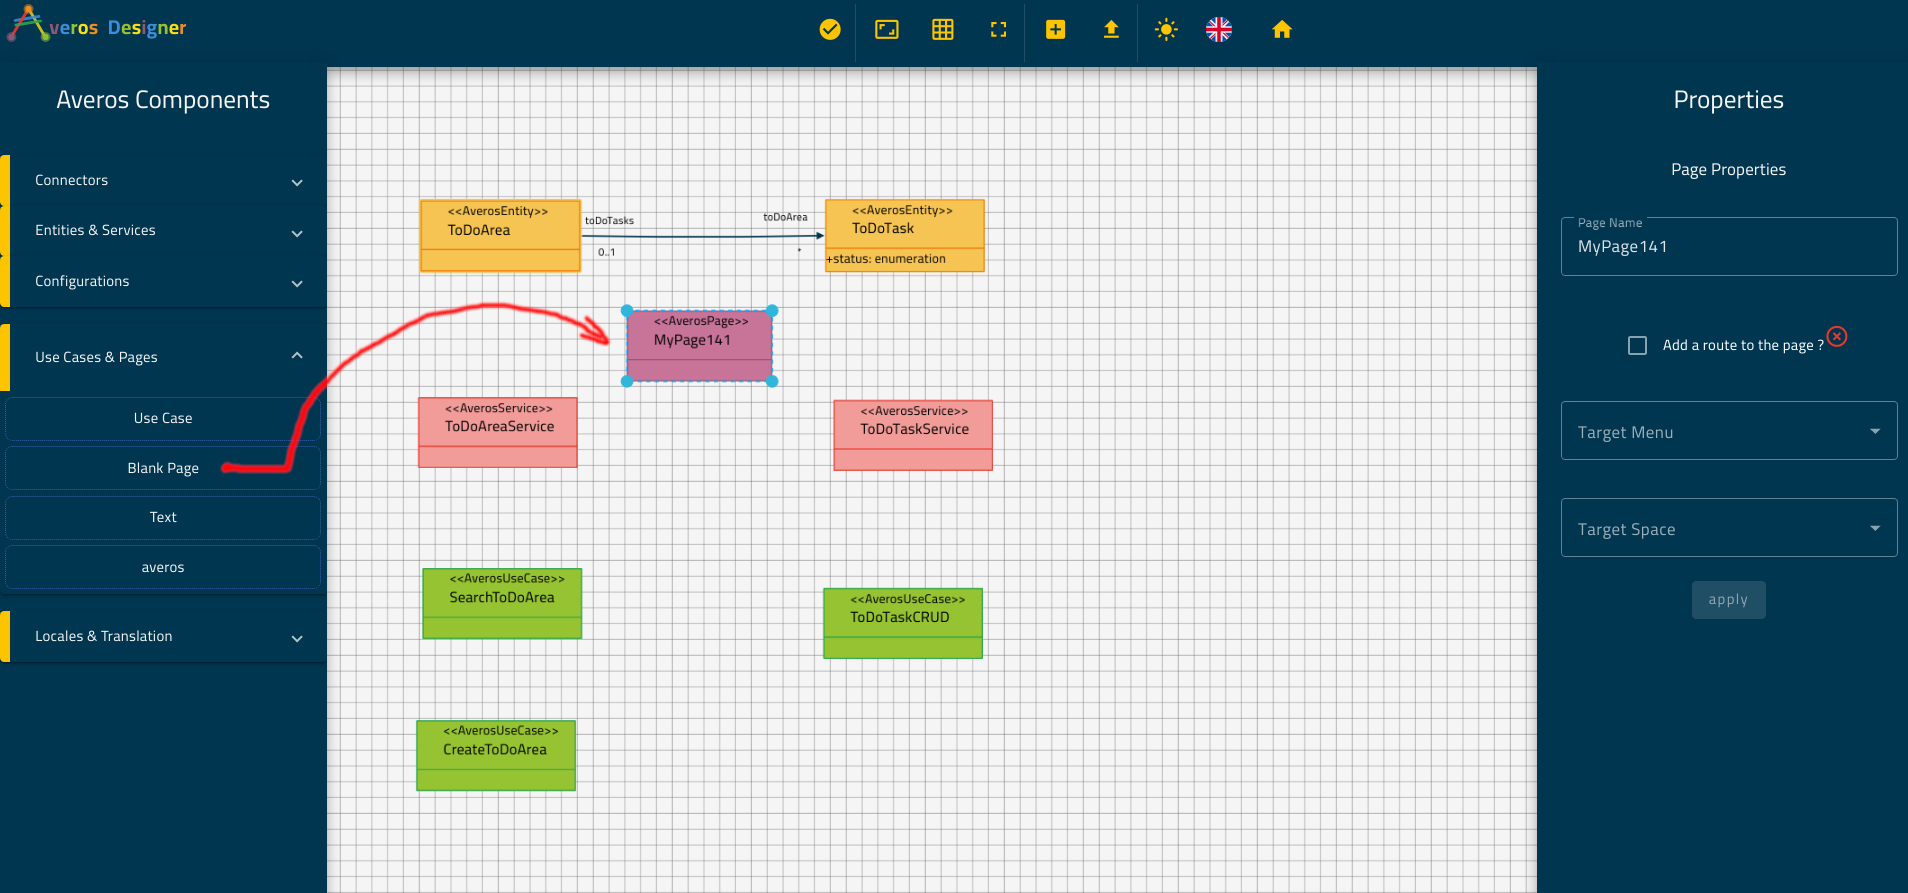
Get back to Averos Designer and go ahead and expand Use cases & Pages components list located in the Averos Components panel.
Drag & drop a Blank Page component into the canvas as follows:
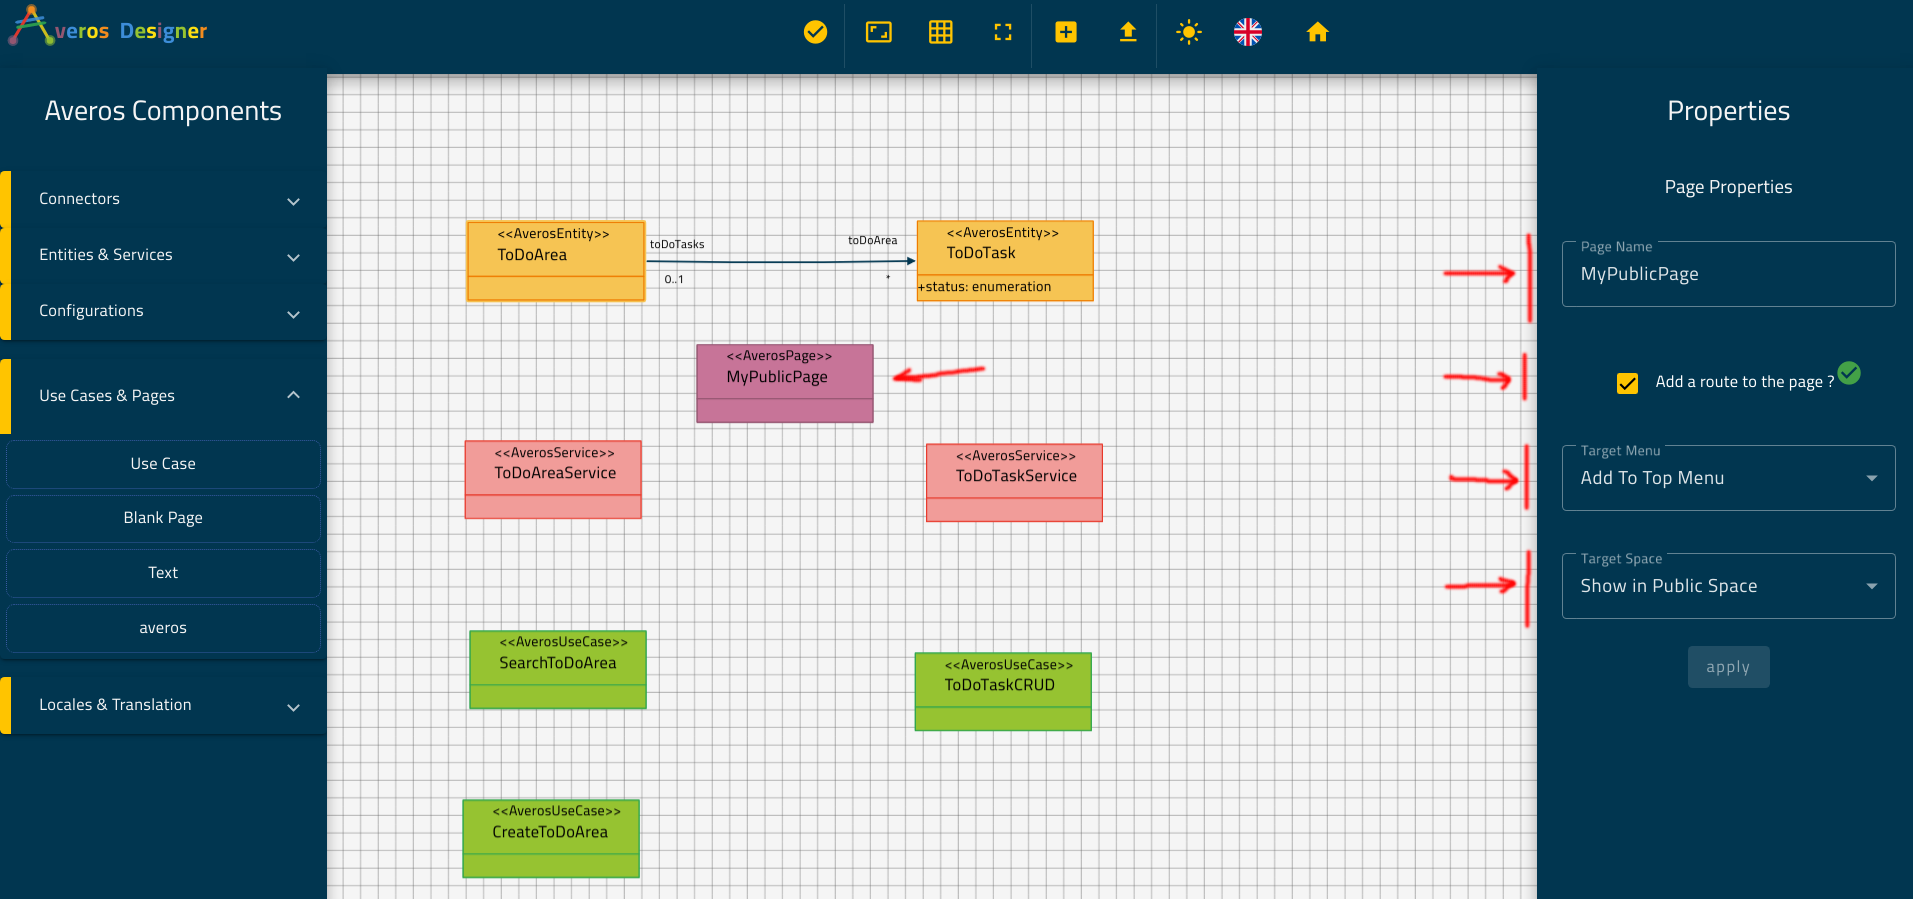
Select your new Blank Page component and update its properties using the Page Properties panel in the right side as follows:
- Page Name:
MyPublicPage- Add a route to the page?: check it
- Target Menu: choose
Add To Top Menu- Target Space: choose
Show in Public Space
Click on apply.
Your new blank page should look like the one in the picture below:
And that’s all !🚀
Easy peasy! isn’t it?
Now, you have a blank page which is available anonymously in the public space via a link in the top public menu.
May be you need a public dashboard, a brand new register page or a brand new sign in page; whatever your needs are, this page is here for you to be updated as you wish.
💡 After generating your application and downloading it you might open its source code in your favorite IDE and start implementing your page the way you wanted it to be.
🔥Go create things and have fun!🔥
In the next section we are going to see how to bind our application services to their related service backends.
This way, our application will be ready to talk to the external world services.
See you there!